How to Use the Skin Enhancer in YourAIPhotographer
In this guide, we'll explore YourAIPhotographer's Skin Enhancer — what it does, why it's useful, and how to use it to achieve natural-looking skin in your AI photos.
What Is Skin Enhancement?
Before we dive in, let's quickly understand what skin enhancement means.
Skin Enhancement uses AI to improve the natural appearance of skin in photos — smoothing imperfections while preserving realistic textures like pores and fine details.
There are two main approaches to skin enhancement:
- Traditional Skin Smoothing: Basic tools simply blur the skin, which often results in an unnatural, plastic-looking appearance.
- AI Skin Enhancement: Modern AI-based enhancers intelligently analyze skin texture, reduce blemishes, and even out skin tone while maintaining natural details.
With YourAIPhotographer's Skin Enhancer, you can achieve professional-quality skin retouching that looks natural and realistic.
It's especially effective for fixing the occasional plastic-skin effect in AI-generated portraits — the Skin Enhancer restores natural textures like skin pores, subtle freckles, and realistic lighting.
1. Open the Skin Enhancer Tool
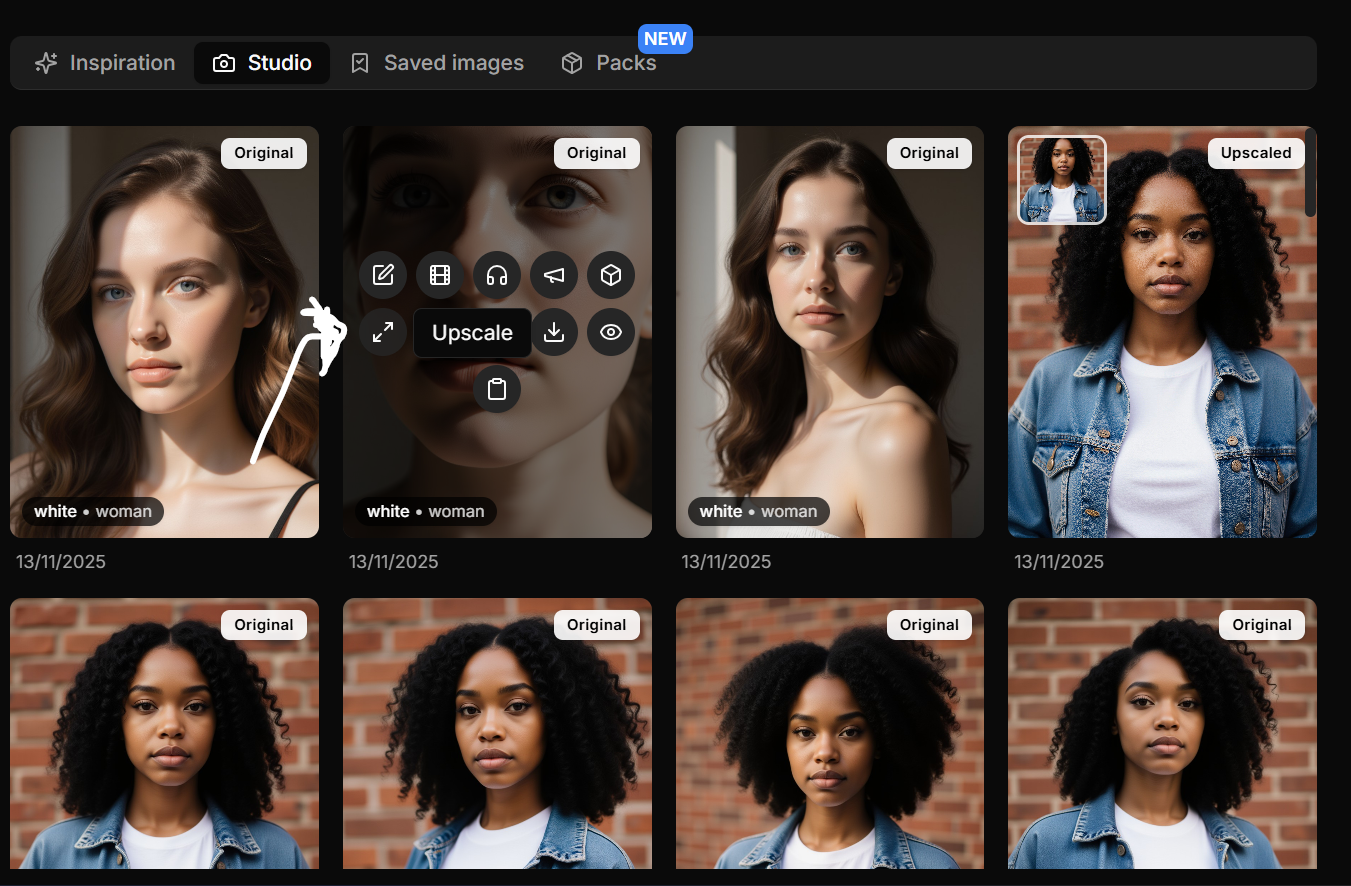
In the Studio tab (or Saved tab), hover over one of your AI-generated photos.
Click the "Skin Enhancer" button to start improving your image.
The Skin Enhancer will automatically generate a new version with improved skin texture — typically within a few seconds.
You'll find your enhanced image in the Studio tab once the process is complete.
The Skin Enhancer works best on portraits and close-up shots where skin is clearly visible.
2. Compare the Results
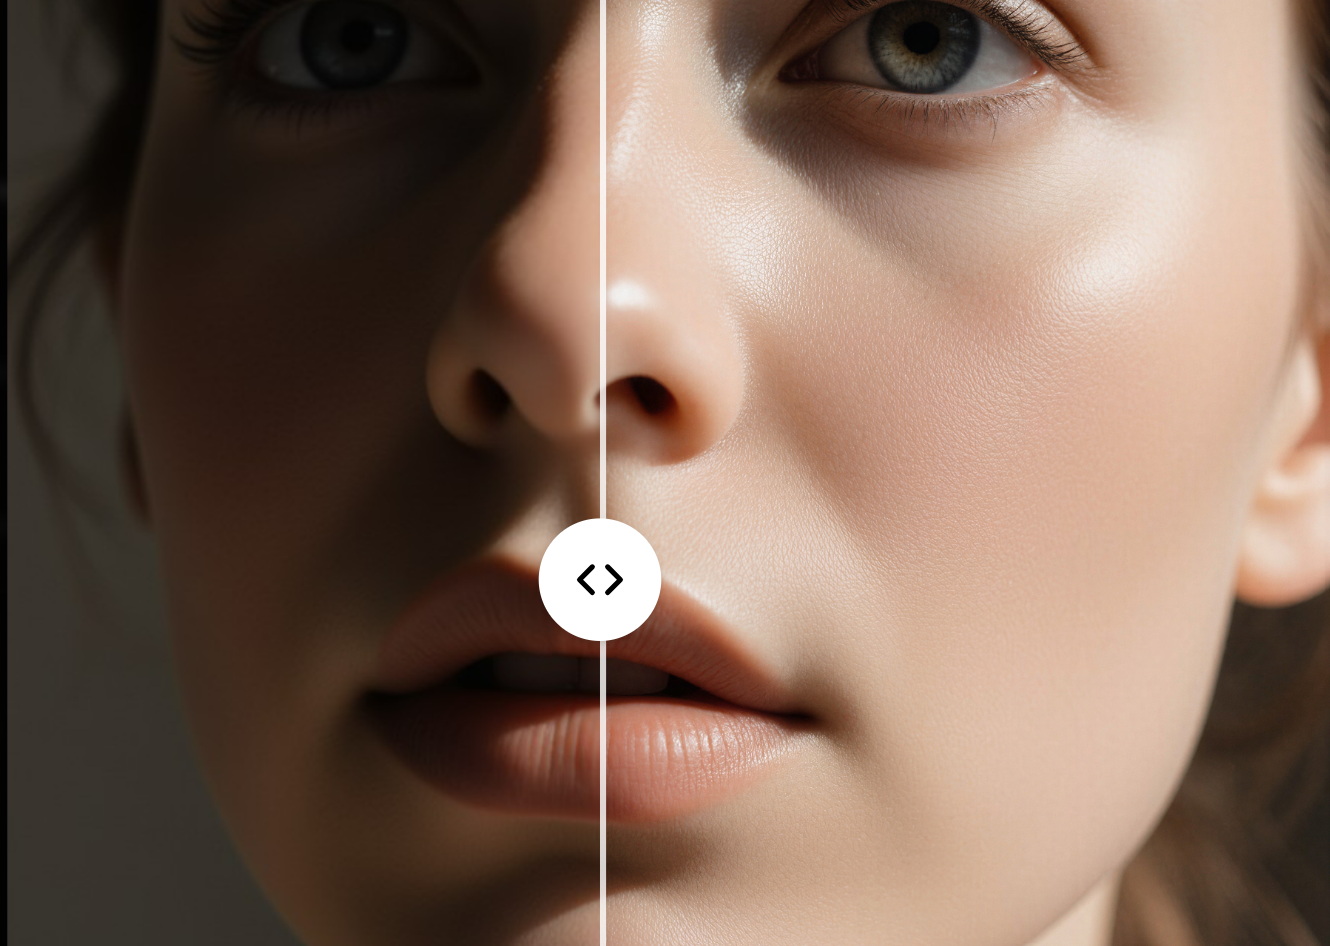
Once your enhancement is ready, click "View" to open it in full screen.
Then click the "Compare" button to see the before vs after difference between your original and enhanced images.
You'll notice smoother skin texture, reduced blemishes, and more natural-looking skin tone — perfect for professional headshots and portraits.
Note: For best results, use the Skin Enhancer on images where the face is clearly visible and well-lit.
Pro Tips
- Use the Skin Enhancer on your favorite portrait shots for the best results.
- It's particularly useful for headshots, close-ups, and professional photos.
- Combine with the Upscaler for maximum quality — first enhance the skin, then upscale.
- The Skin Enhancer preserves natural features like freckles and beauty marks while smoothing imperfections.