

How to Take Your Own Headshot Like a Pro
Learn how to take your own headshot with our guide. Get pro tips on lighting, posing, and editing for a stunning photo without the expensive studio.
Table of Contents
Forget shelling out for an expensive photography session. A high-quality, self-taken headshot is completely within your reach, often with gear you already have—even just your smartphone. I'm going to walk you through how to take your own headshot, breaking down the essentials like finding great light and choosing a clean, effective background.
Why A Great DIY Headshot Matters
In a world driven by first impressions, your headshot is your digital handshake. It’s often the very first thing a potential employer, client, or professional connection sees on platforms like LinkedIn.
A polished, authentic photo projects confidence and competence before you even say a word. The best part? You no longer need a professional studio to achieve that high-end look.
The real secret to a successful DIY headshot isn't about fancy equipment; it's about controlling your environment. This guide is all about giving you the techniques to create a photo that looks like it was shot by a pro, using tools you likely already own.
The Shift Toward Authenticity
Let's be honest, the stiff, overly formal poses of the past are dead. Today, it’s all about capturing your genuine personality. Think less corporate yearbook and more approachable expert. This is fantastic news for anyone learning how to take their own headshot, because authenticity is so much easier to capture when you're in a comfortable, familiar space—like your own home.
Current trends lean heavily toward natural, candid expressions over forced, cheesy smiles. A modern headshot tells a story, featuring a subtle smile or a thoughtful look that adds real depth to your professional image. To see what I mean, you can explore a variety of these styles in our gallery of headshot photo examples to get inspired.
This shift reflects a broader move away from highly staged images toward more relatable and credible portraits. The emphasis is now on environmental context and minimal retouching to preserve your most authentic qualities.
Ultimately, my goal here is to help you create a headshot that is not only professional but also a true representation of who you are. By focusing on simple, actionable steps, you'll be ready to upgrade your brand in no time.
Building Your At-Home Headshot Studio
Before you even think about your pose or smile, the foundation of a great headshot is the space you create. You don’t need to rent a professional studio; you can get fantastic results right at home by being smart about your setup. The two things that matter most? Lighting and your background.
Your best friend for this project is a window. It’s your primary light source, and it provides the kind of soft, flattering light that photographers chase—and it’s completely free. The trick is to position yourself facing a large window, letting that beautiful natural light wash over your face evenly. Just be careful to avoid harsh, direct sunlight, which will cast hard, unflattering shadows. What you’re looking for is the gentler light of an overcast day or the magic of the "golden hour" right after sunrise or before sunset.
Dialing in Your Light and Background
Pay attention to which direction your window faces. A north-facing window is often the holy grail for this kind of work because it delivers consistent, soft light all day long. If your only options are east or west-facing windows, you'll have to be more strategic with your timing to dodge those intense, direct sunbeams in the morning or late afternoon.
Once you’ve got your light sorted, it's time to deal with what’s behind you. A cluttered background is a dead giveaway of an amateur photo. The cleanest, most effective backdrop is simply a plain, neutral-colored wall. Think white, gray, or even beige—these colors don't compete for attention, keeping the focus entirely on you.
No suitable wall? No problem. You can easily fake it. A smooth white sheet (iron it first!) or a large piece of poster board can work wonders. The goal is just to create a clean, simple canvas that makes you the star of the show.
This diagram shows a classic studio lighting setup, which is exactly what we're aiming to mimic using just a window and maybe a simple reflector.

You can see how controlled light sources shape the face to create a balanced, professional look. We're just swapping out expensive strobes for Mother Nature.
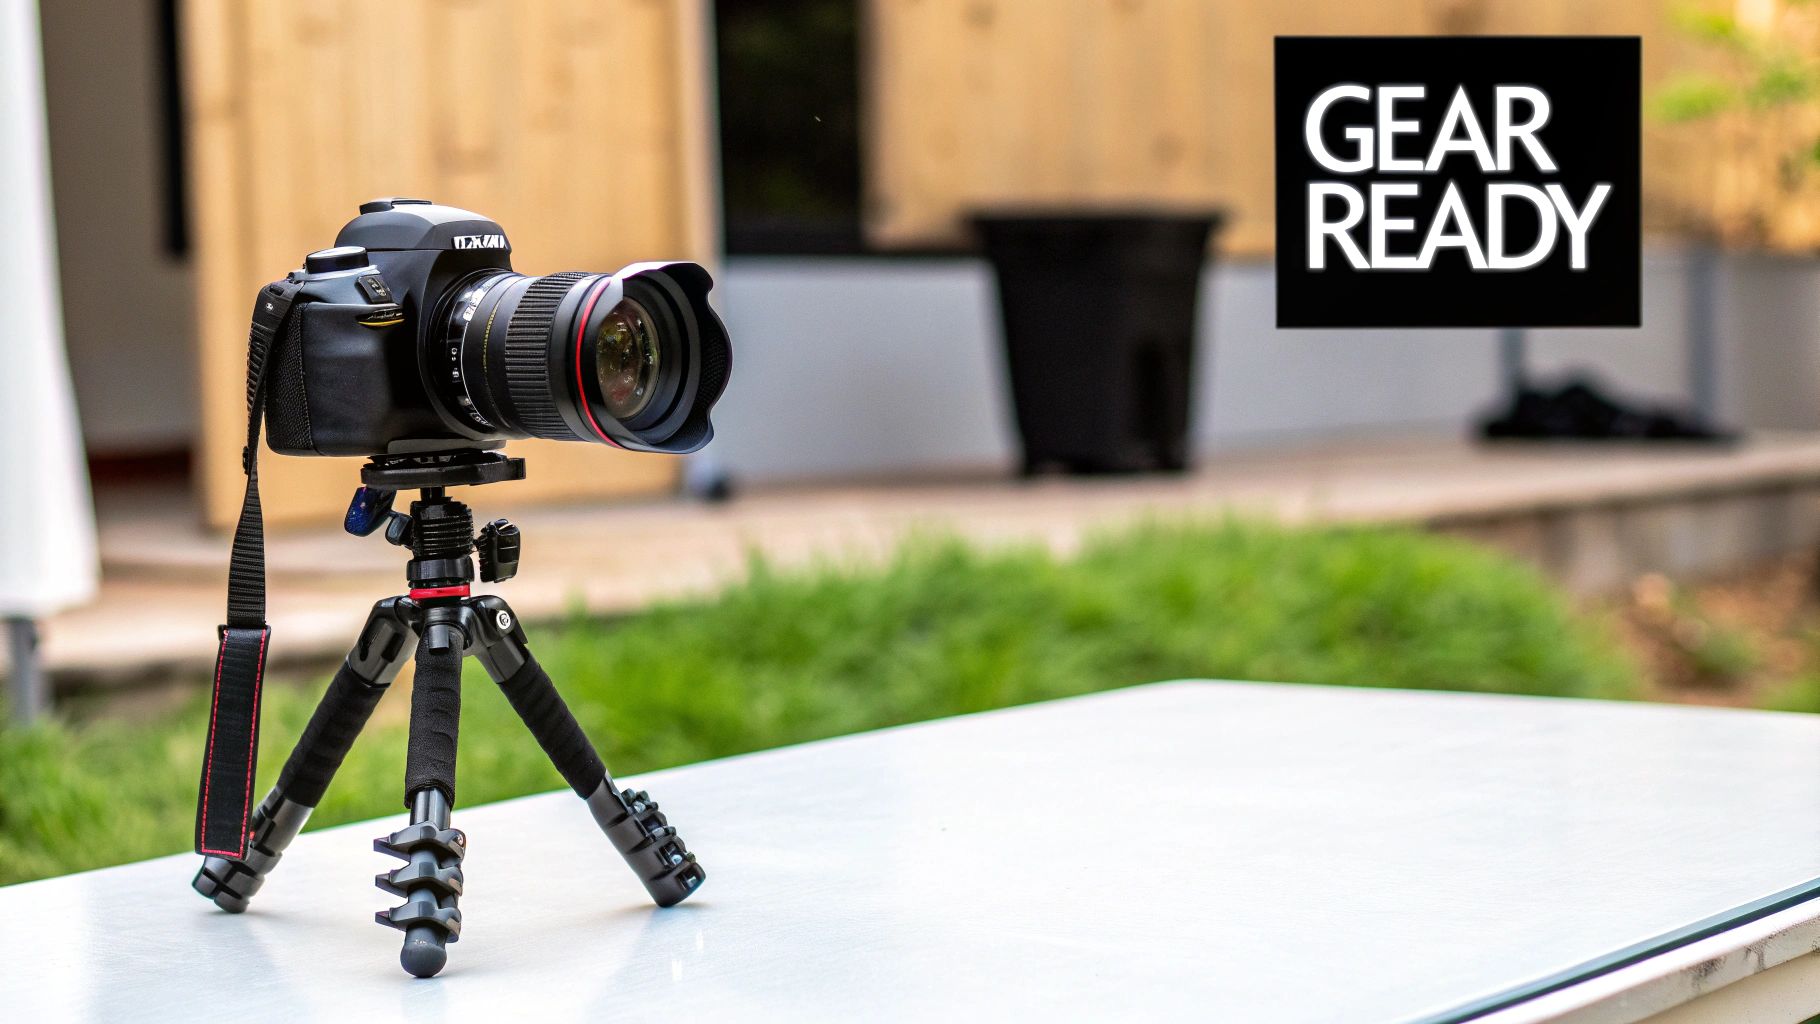
Getting Your Camera in Position
Now, let's talk about your gear, whether it's a DSLR or your smartphone. Trying to take a headshot selfie-style by hand-holding the camera is a surefire way to get blurry, awkwardly framed pictures. Stability is non-negotiable. A tripod is your best bet, but if you don't have one, get creative. A sturdy stack of books on a table works perfectly well.
The absolute key here is to get your camera to eye level.
Shooting from a low angle is almost universally unflattering—it can give the appearance of a double chin. On the flip side, an angle that’s too high can make you look small and diminish your presence. An eye-level shot feels direct, confident, and engaging.
One last pro-tip: step away from the shutter button. Even the tiny motion of pressing it can introduce a bit of camera shake, robbing your photo of that crisp, sharp quality. The solution is simple: use the self-timer. Set it for 3-10 seconds. That gives you plenty of time to hit the button, get back into your pose, take a breath, and relax into a natural expression. This little trick is one of the easiest ways to elevate your shot from a good selfie to a great headshot.
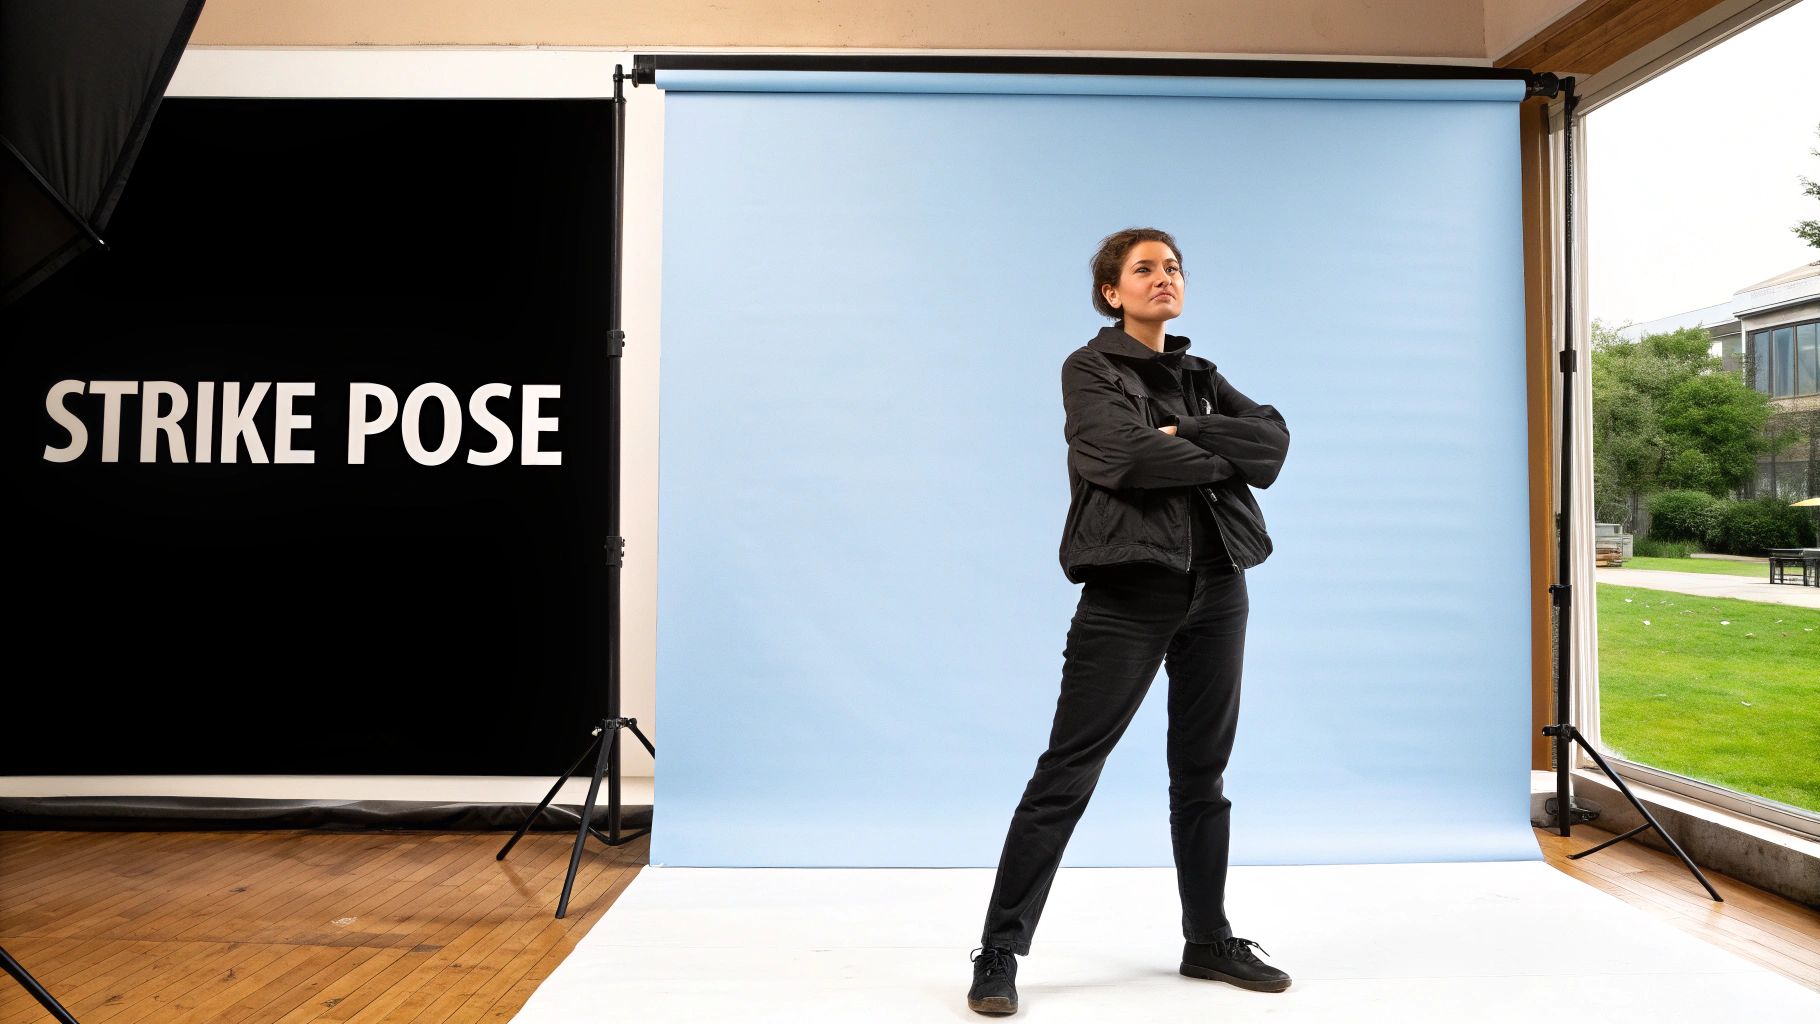
Finding Your Best Angles and Authentic Poses
Let's be honest: posing for a headshot can feel incredibly awkward. Most of us aren't models, and the pressure to look "professional" can make us freeze up. But the goal here isn't a high-fashion pose; it's to find a natural stance that shows you're both confident and someone people want to work with.
Forget the idea of "posing." Think of it more like settling into a comfortable, self-assured version of yourself. A fantastic headshot comes from a real expression, and that's only going to happen if you feel at ease.
Experiment with Body Angles
Standing square to the camera is a one-way ticket to a stiff, passport-style photo. It’s flat and lacks energy. The secret to a more dynamic shot is creating angles with your body.
Start by turning your body about 45 degrees away from the camera, then bring your head back to face the lens. This one simple move instantly adds depth and makes the shot more engaging. Try dropping the shoulder closest to the camera just a bit—it’s a classic photographer’s trick to elongate the neck and create a more relaxed look.
A small shift can make a world of difference. The key is to avoid perfect symmetry. Our faces and bodies aren't perfectly symmetrical, and embracing that asymmetry is what makes an image feel natural and compelling.
Another great technique is to lean in, just slightly, toward the camera. This creates an immediate sense of connection with the viewer, making you seem open and approachable. If you want to explore this further, our complete guide on how to pose for headshots has a ton of extra examples.
Master Your Facial Expression
Your expression is everything. It's the soul of the headshot. Whether it's a genuine smile or a look of focused determination, this is what will connect with your audience. The tricky part, especially when you're your own photographer, is making that expression feel real.
Don't just think "cheese." That creates a fake, strained smile. Instead, think of something that genuinely makes you laugh or a memory that brings you joy. This will light up your eyes and create what photographers call a "Duchenne smile"—the real deal that engages the muscles around your eyes.
If you're going for a more serious or pensive look, don't just try to look serious. Think about a complex problem you love to solve in your work or a topic you're truly passionate about. This brings an intensity and focus to your eyes that a blank stare just can't match.
We're seeing this across the board in modern photography. The trend is shifting away from heavily polished corporate shots and toward images that feel more authentic. As noted in the 2025 headshot trends on accio.com, there's a huge emphasis on preserving natural skin texture and using realistic lighting to make portraits more relatable.
What to Do with Your Hands
Nothing screams "I'm uncomfortable" like awkward hands. For a tight headshot, the simplest solution is to just keep them out of the frame. But if you’re pulling back for a wider half-body shot, you need a game plan.
Here are a few go-to options that look natural:
Crossed Arms: This can signal confidence, but it’s easy to get wrong. Keep your arms relaxed. If you're clenching your fists or pulling your arms in too tight, you'll look defensive or angry.
One Hand in a Pocket: A timeless classic for looking cool and composed. Just slide one hand into your pocket, keeping it casual.
A Purposeful Touch: Give your hands a "job." You could lightly touch your chin, adjust a cufflink, or gently rest your hand on the lapel of your jacket. It adds personality and looks intentional.
Ultimately, the best pose is one that doesn't feel like a pose at all. It should feel like you. So, take a ton of shots, move around between takes, and play with these different ideas. The more you relax and experiment, the more your personality will shine through in the final image.
Nailing Your Camera Settings and Lighting
Getting your camera settings right is where you take control of the final image. This is what transforms a simple snapshot into a portrait that feels intentional and professional. Don't worry, you don't need to be a technical wizard—a few key adjustments are all it takes.
The single most important setting for that classic headshot look is aperture. This is what creates that soft, out-of-focus background that makes your face the undeniable center of attention. A low aperture number, like f/1.8 or f/2.8, achieves this effect beautifully.
If you're using a smartphone, you're in luck. Portrait Mode is designed specifically to mimic this effect using software. Toggling this on is probably the quickest win you can get for a more professional-looking DIY headshot.
Achieving That Soft, Flattering Light
Great lighting is the soul of a great headshot, and you don't need a studio full of expensive gear to get it. Natural light from a window is your best friend. But to take it from good to great, you need to manage the shadows.
The secret? A simple reflector. And no, you don't need to buy one. A large piece of white foam board from a craft store works perfectly. Even a piece of cardboard wrapped in aluminum foil (make sure to crinkle the foil first, then flatten it out to diffuse the light) will do the job in a pinch.
Here’s the simple process:
Find Your Spot: Position yourself so you're facing the window.
Spot the Shadows: Look closely at your face. One side will be brightly lit, and the other will have some soft shadows.
Bounce the Light: This is where the magic happens. Hold your reflector on the darker side of your face, just outside of where the camera can see it. Angle it to catch the light from the window and bounce it back, filling in those shadows. You’ll immediately see a more balanced, even, and flattering light.
The most common mistake I see is people using the overhead lights in their room. These create harsh, ugly shadows under the eyes and chin. Always turn them off and rely on the window light instead.
If you're curious and want to explore more advanced techniques, our guide to professional headshot lighting setups is a great next step. But honestly, for a killer headshot at home, that window and a piece of foam board are all you really need.
Smartphone vs DSLR Headshot Settings
Whether you're using the powerful camera in your pocket or a dedicated DSLR, you can get fantastic results by focusing on the right settings. Here’s a quick comparison of how to approach it on each device.
| Setting/Feature | Smartphone Approach | DSLR Approach |
|---|---|---|
| Background Blur | Use Portrait Mode. This uses software to create the effect. | Set a low aperture, ideally between f/1.8 and f/4. |
| Focus | Tap on your eye on the screen to set the focus point. | Use Single-Point AF and place the focus point directly over your eye. |
| ISO | Keep it low automatically by shooting in bright, natural light. | Set manually to 100-400 to avoid digital noise. |
| Shutter Speed | The phone handles this, but a tripod helps ensure sharpness. | Set to at least 1/125s to prevent any motion blur. |
| White Balance | Usually fine on Auto (AWB), but check for a natural skin tone. | Start with Auto (AWB), or try "Cloudy" for a warmer feel. |
The key takeaway here is that both tools are incredibly capable. A DSLR offers more manual control for fine-tuning, but a smartphone's automated modes are smarter than ever and can deliver professional-quality images with less hassle.
By taking a few moments to dial in these settings, you're not just taking a picture—you're crafting a portrait. You’re telling the camera exactly what to focus on, ensuring the final result is sharp, bright, and polished.
Editing Your Headshot for a Polished Finish
Getting the shot is a huge part of the process, but the real magic often happens in the edit. This is your chance to take a good photo and transform it into a truly professional headshot. The goal here isn't to fundamentally change how you look, but to polish the image so it presents the best possible version of you.
Subtlety is your best friend. Over-the-top filters or skin smoothing that makes you look like a plastic doll are dead giveaways of an amateur edit. We're going to focus on small, intentional tweaks that enhance what's already there.
Starting With the Fundamentals
Before you even think about advanced tools, nail the basics. These foundational adjustments are available in virtually any editing software, from the default app on your phone to professional-grade programs like Adobe Lightroom.
Crop for Composition: This is your opportunity to perfect the framing. A classic rule of thumb is to position your eyes along the top third of the frame, which creates a really engaging look. Cropping is also great for trimming out any distracting clutter you might have missed on the edges of the shot.
Exposure and Contrast: Does the photo feel a bit too dark? Or maybe a little washed out? A tiny bump in exposure can work wonders. After that, adding just a touch of contrast will help define the highlights and shadows, making the whole image feel more dynamic and crisp.
White Balance Correction: Take a hard look at your skin tone. If you're seeing a weird blue or orange cast, the white balance is off. A quick adjustment here will neutralize the colors and make your skin look natural and true-to-life.
Your edits should be invisible. If someone looks at your photo and their first thought is, “Wow, cool filter,” you’ve missed the mark. The focus should be on you, not the post-production work.
It helps to have a clear idea of your end goal before you start clicking around. You can learn more about what makes a good headshot in our other guide to really solidify what you're aiming for.
Using Modern Editing Tools
You don't need a high-end software subscription to get a professional look these days. There are countless user-friendly apps out there with some seriously powerful features.
Helpful Features to Look For in an Editing App
Selective Adjustments: This feature is a game-changer. It lets you brighten just your face without blowing out the background, or subtly darken a distracting element. It’s all about precise control.
Blemish Removal: Woke up with a pimple on headshot day? It happens. A good spot-healing tool can make it disappear without smudging or blurring your skin texture.
Sharpening: A little bit of sharpening applied selectively to your eyes can make them pop. This subtle detail draws the viewer in and adds a level of professional polish.
The world of photo editing is also seeing some incredible AI-powered tools that simplify complex edits. You can now do things like seamlessly swap out a background or even relight a scene after the fact. These advancements give you so much more flexibility, allowing you to create different styles of headshots from a single photo. By keeping your edits clean, purposeful, and subtle, you'll end up with a final headshot that's polished, professional, and genuinely you.
Common Questions About Taking Your Own Headshot
Even after you've got a plan, a few questions always seem to pop up when you're in the middle of a headshot session. Let's tackle some of the most common ones I hear, so you can get past any roadblocks and get a shot you’re proud of.
What Should I Wear for a Professional Headshot?
Think of your outfit as a supporting actor—it should help you shine, not steal the show. Your best bet is almost always a solid color. Jewel tones like deep blue or emerald green are fantastic, as are classic neutrals like charcoal gray. They draw attention to your face, which is exactly where you want it.
Steer clear of busy patterns, big logos, or anything super trendy that will instantly date your photo in a year or two. A good, strong neckline like a collared shirt, a blazer, or even a simple crewneck does a wonderful job of framing your face.
Above all, make sure whatever you choose is clean, fits you well, and is completely free of wrinkles. For a more detailed breakdown, our guide on choosing good headshot outfits has plenty more ideas.
Can I Really Get a Good Headshot with My Phone?
Yes, you absolutely can. Don't let anyone tell you otherwise. Modern smartphone cameras are incredibly powerful. Considering 77% of Americans now own a smartphone, the technology has advanced to the point where they are more than capable of producing a professional-looking headshot.
Here’s how to get the most out of it:
Always use the rear camera. It's far more powerful than the front-facing selfie cam.
Switch on Portrait Mode. This is your secret weapon for creating that soft, blurry background that makes you pop.
Keep it steady. A tripod is ideal, but a sturdy stack of books works just as well to kill any camera shake.
Use the self-timer. This small step prevents the tiny jiggle from pressing the shutter button, keeping your final image perfectly sharp.
How Do I Choose the Best Background?
When it comes to backgrounds, simple is always better. The background is there to complement you, not compete with you. A plain, neutral wall is a fantastic, no-fail choice. Think light gray, off-white, or a muted, soft color.
If you’re looking for a little more personality, a clean brick wall or a simple outdoor scene with soft, out-of-focus greenery can look great. The one non-negotiable rule? No clutter. A messy room, a busy office, or distracting patterns will immediately torpedo the professional feel of your headshot.
When in doubt, go with the simpler option. A clean, uncluttered background guarantees the focus stays right where it belongs: on you.
It's a small choice that makes a huge difference in the final result.
Tired of trying to get the perfect shot? With YourAIPhotographer, you can generate dozens of studio-quality, professional headshots in minutes, all from a few simple selfies. Skip the setup and editing, and get images that make you look your best. Start creating your professional headshots today!