

How to Create AI Photos of Yourself
Want to create AI photos of yourself? This guide breaks down the process, from choosing the right selfies to generating stunning, realistic AI portraits.
Table of Contents
Have you ever seen those incredible, studio-quality portraits people are posting and wondered how they did it without a professional photographer? The secret is AI. I'm going to show you exactly how you can create AI photos of yourself, turning your simple selfies into amazing portraits with tools anyone can use.
Why Bother Creating AI Photos of Yourself?
Making AI photos of yourself has quickly gone from a quirky tech experiment to a genuinely useful creative tool. We're not just talking about slapping on a filter; this is about creating brand new, photorealistic images that feature you. Once you train a personal AI model with your own pictures, you've got a seriously powerful asset for personal branding, social media content, or even just artistic fun.
Think about it. You need a new, professional-looking headshot for your LinkedIn profile by tomorrow. Instead of the mad dash to find and book an expensive photographer, you could generate a whole batch of options—different outfits, different backdrops—right from your laptop. The convenience and creative control are game-changers.
AI Portraits Are Becoming Mainstream
This isn't just a niche trend; the numbers show a huge surge in interest. The global AI image generator market was valued at around USD 418.5 million in 2024. That figure is expected to balloon to an estimated USD 2.63 billion by 2035. This boom is happening because the AI has gotten so good that making realistic images is easier than ever.
My goal here is to break down the process and make it simple for anyone. You don't need to be a tech wizard or own fancy software. The benefits are pretty straightforward:
- It’s Cheaper: You can skip the high costs of photographers, studio time, and gear.
- You Get Endless Options: Create hundreds of photos in any style you can imagine, from clean corporate headshots to wild fantasy art.
- It's Fast: Get high-quality images in minutes or a few hours, not days or weeks.
The best part about AI photography is how it opens up creative avenues that used to be inaccessible for most of us. It’s like having a personal digital photo studio right on your computer.
By getting a handle on the basics of how AI for photography works, you can really own your digital image. This guide will take you through it all, from picking the right selfies to perfecting your final portraits.
Choosing the Right Selfies for AI Training
The quality of your AI-generated photos comes down to one simple thing: the quality of the selfies you feed the model. Think of it like this—if you only show the AI pictures of you smiling from the exact same angle, it will have a really tough time creating anything else.
To get those jaw-dropping, realistic portraits, you need to give the AI a complete picture of who you are. It needs to learn your unique facial structure, your different expressions, and how you look in various settings. Honestly, putting a little effort into this first step is the single best thing you can do for your final results.
Curating Your Photo Collection
A classic rookie mistake is grabbing ten photos that all look basically the same. What you really want is a collection that shows you from all sides, giving the AI a true 3D map of your face.
It sounds more complicated than it is. Once you know what to look for, pulling together the right set of images is pretty straightforward.
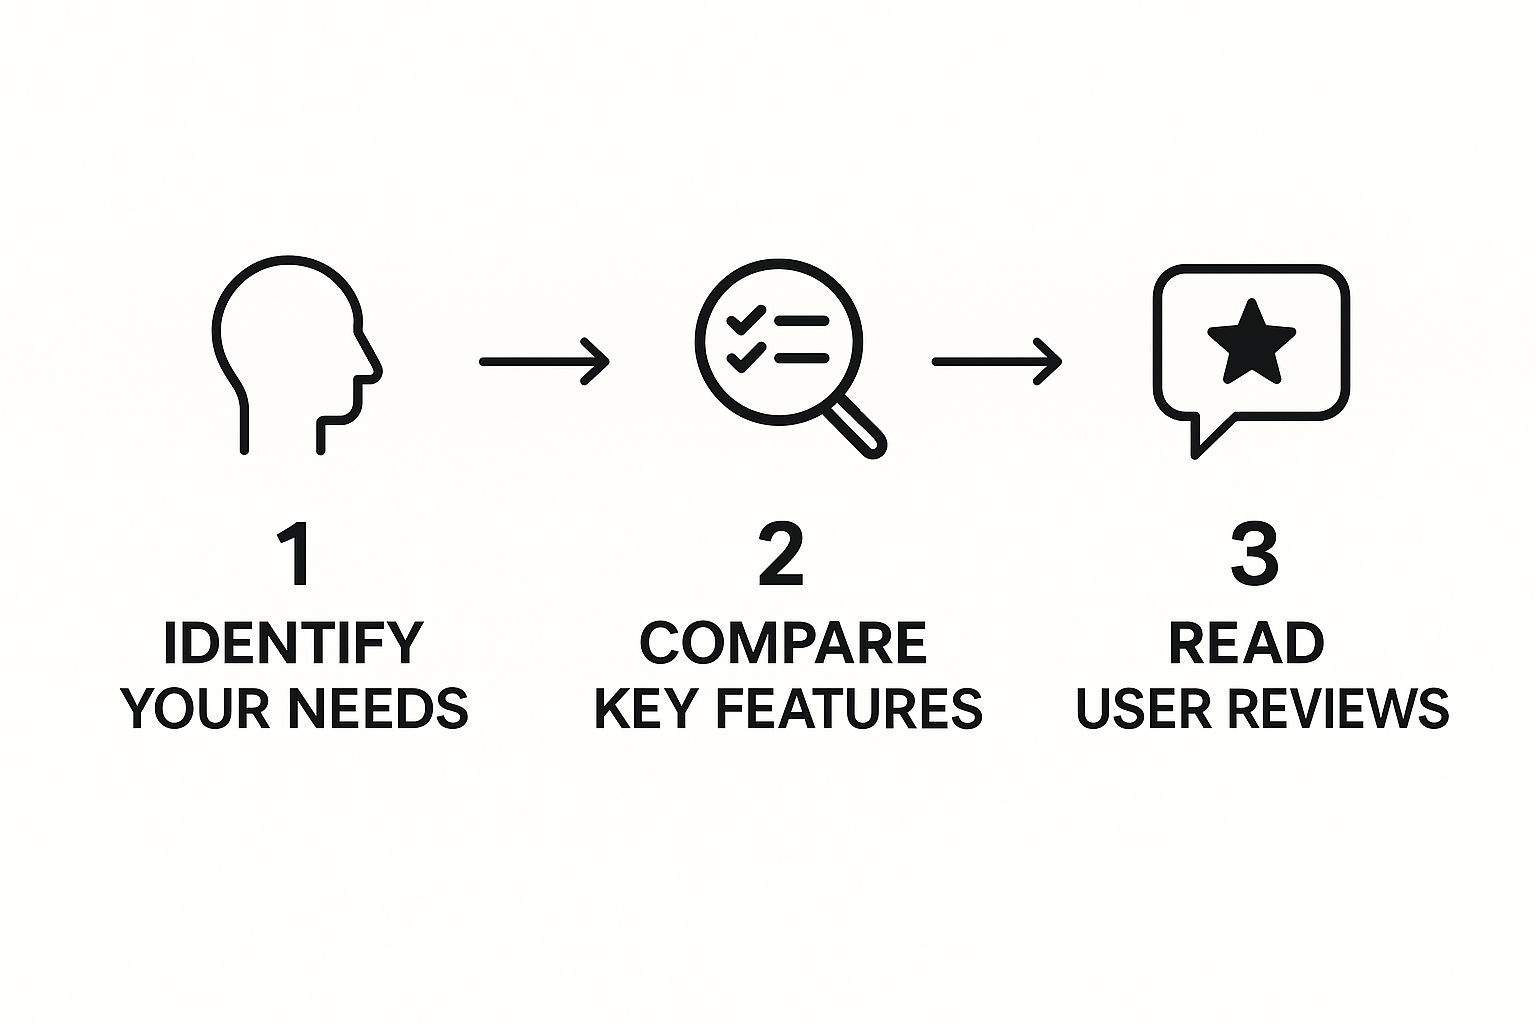
Just like picking the right app, being thoughtful about your photo choices from the start will pay off big time.
Here's a quick reference guide to make sure you're selecting the best possible photos for the job.
Photo Selection Checklist for Best AI Results
| Do This | Avoid This |
|---|---|
| Vary your angles (front, side, 3/4 view) | Using only one angle (e.g., all front-facing) |
| Mix up expressions (smile, serious, neutral) | The same expression in every single photo |
| Include different lighting (daylight, indoor) | Heavy filters or dramatic shadows |
| Change up the backgrounds | Group photos or busy, distracting backgrounds |
| Use clear, high-resolution shots | Blurry or pixelated images |
| Keep your face unobstructed | Sunglasses, hats, or hands covering face |
Sticking to these "dos" and "don'ts" ensures the AI has rich, diverse data to learn from, which is the secret to getting accurate and high-quality portraits.
Remember, the AI is only as smart as the data you give it. Low-quality, blurry, or heavily filtered photos will lead to disappointing and unrealistic results. Keep your selections clear and authentic.
Steer clear of group photos where your face is partially hidden, shots where you're wearing sunglasses, or any low-resolution images from years ago. Taking a few extra minutes to curate your photo set will make a world of difference. For more great tips, check out our guide on how to take your own headshot.
Training Your Personal AI Model
Alright, you’ve gathered your best photos. Now for the fun part: actually teaching the AI what you look like. This is where you hand over those 10-20 selfies and let the generator work its magic, learning all your unique features.
Think of it like commissioning an artist. You're giving them a portfolio of reference shots so they can create a perfect digital blueprint of your face. Once it has that, the AI can drop you into any scene or style you can dream up.
Most platforms make this pretty simple. You’ll see a big "Upload" button waiting for you. Before you click it, do one last quick scan of your photos. I can't tell you how many times I've seen people's results get weird because a blurry shot or a picture with a friend accidentally made it into the training set. A final check saves a lot of headaches.
What’s Happening Behind the Scenes?
Once you upload and hit "Train," the AI gets to work. It’s usually powered by something called a diffusion model, which is a fancy way of saying it breaks down your photos to understand your facial structure, your common expressions, and all the little details that make you, you. It's not just memorizing your pictures; it's building a complex mathematical model of your face.
This diagram gives you a peek into how diffusion models operate. They essentially add random noise to an image until it's unrecognizable, and then they learn how to reverse that process perfectly. This is how they generate brand-new, crystal-clear images from scratch.
This training is what allows the AI to reconstruct your likeness later on when you give it text prompts. Depending on the service and how busy their servers are, this can take anywhere from 30 minutes to a couple of hours.
The popularity of these tools is exploding. In 2024, the AI image editing market hit $80.3 million, and it's no surprise when you see that 58% of users are already using AI for photo editing. People love how efficient it is. If you're curious about the numbers, you can find more AI image statistics on photoroom.com.
This waiting period is where the real work happens. The AI is doing some serious number-crunching, so just be patient. Go grab a coffee, catch up on emails, and wait for that notification to pop up saying your model is ready.
Knowing what’s going on during the training phase really helps you appreciate the tech. If you want to get even more technical and improve your results, take a look at our complete guide on how to train an AI model.
Bringing Your AI Photos to Life
https://www.youtube.com/embed/UfdbojuaowA
Now for the fun part. With your AI model trained on your selfies, you’re ready to step into the director’s chair and start creating. This is where you transform your likeness into anything you can imagine, from a polished professional headshot to a work of art.
The magic happens through a mix of pre-set styles and your own custom text prompts. Think of styles as creative starting points—like a ‘Professional Headshot’ or ‘Fantasy’ theme—that establish the general vibe. But the real control comes from your text prompts, where you can dictate the specifics like clothing, background, and even the lighting.
For instance, you could start with a simple prompt: "a portrait in a coffee shop." But you can get so much more specific. Try something like, "close-up portrait in a cozy coffee shop, wearing a gray turtleneck, soft morning light streaming through the window." Just changing "coffee shop" to "cyberpunk city street" will give you a completely different universe. It’s all about the details.
Getting the Most Out of Prompts and Styles
Learning to write good prompts is really the secret sauce to getting amazing results. You want to be descriptive but not so wordy that you confuse the AI. The best approach is to start with a core idea and then add layers of detail.
Here are a few ideas to get you started:
- For a new LinkedIn picture: "Professional corporate headshot, smiling, wearing a navy blue blazer, against a clean, out-of-focus office background."
- For a creative Instagram post: "Artistic portrait, cinematic lighting, looking away from the camera, set in a rainy neon-lit alley."
- Just for fun: "Fantasy character portrait, elf with pointed ears, intricate silver armor, enchanted forest setting."
The market for this technology is exploding. The global AI image generator sector was valued at USD 349.6 million in 2023 and is expected to hit USD 1.08 billion by 2030. This incredible growth is happening because powerful tools are now accessible to everyone. You can dig into more AI image generator market trends on grandviewresearch.com if you're curious.
My biggest piece of advice? Don't be afraid to experiment. Seriously. Some of the best images come from trying weird combinations of styles and prompts. Generate a few different versions of the same idea and see which one you like best.
The quality of your photos also depends heavily on the tool you use. If you're aiming for truly photorealistic images, it's worth checking out our guide to the best AI portrait generator platforms out there right now.
Pro Tips for Perfecting Your AI Portraits
So, your AI model is trained and you're getting some pretty good results. Now comes the fun part: turning those good results into incredible ones. The secret isn't just accepting the first image the AI spits out; it's all about iteration and making smart adjustments.
One of the simplest yet most powerful tricks in the book is to just "reroll" your prompt. This means you run the exact same prompt multiple times. Since the AI adds a touch of randomness to every generation, you might get four decent shots and one absolute showstopper where the lighting and details are just perfect.
Troubleshooting Common AI Quirks
Let's be real—sometimes the AI gets things wrong. You might end up with a portrait featuring six fingers or a background that looks like it's melting. It happens, and it's usually an easy fix with a few tweaks to your prompt.
This is where negative prompts become your best friend. Most platforms have a feature that lets you tell the AI what you don't want to see. For instance, if you keep getting wonky hands, adding something like distorted hands, extra fingers to your negative prompt can work wonders. Think of it as putting up guardrails to guide the AI's creativity.
The goal isn't just to make AI photos of yourself; it's to create photos you genuinely love. So don't hesitate to reroll, experiment, and use negative prompts until you land on an image that feels right and looks amazing.
Final Touches for a Flawless Finish
Once you’ve generated an image you’re happy with, a couple of quick final steps can take it from great to truly professional. First, I always recommend using an upscaling tool to boost the image's resolution. This step is a must if you ever plan on printing your portrait or using it on a high-res screen.
After upscaling, I like to do a few minor touch-ups in a photo editing app. You don't need anything fancy; simple adjustments can make a huge difference.
- Tweak the brightness and contrast to make your portrait pop.
- Fix any slight color imbalances to get a more natural skin tone.
- Crop the image to nail the perfect composition.
These little edits add that final human touch that makes the portrait truly yours. If you want to get better at this part, our guide on color correction for photos has some really easy-to-follow advice.
Got Questions About AI Photos? We've Got Answers
Jumping into AI self-portraits for the first time usually brings up a couple of big questions, especially around privacy and photo ownership. Let's clear the air on what really happens behind the scenes.
What Happens to the Selfies I Upload?
This is probably the most common question we hear, and for good reason. Your privacy is a big deal.
When you upload your selfies, they have one job: to train your unique AI model. Think of them as study materials for the AI. Once the AI has learned what you look like and your model is ready, those original photos are typically deleted from the servers for good.
Your selfies are just the reference points. They teach the AI your features, but once the lesson is over, they're no longer needed to create new pictures.
This means your personal pictures aren't just sitting on a server somewhere. Always glance at the privacy policy of any tool you use, but the standard, secure practice is to get rid of the training photos after the model is built.
So, Who Actually Owns the AI Photos I Make?
Great question. In short, you do. Once you create the images, they are yours. You have the rights to use them however you want, whether it’s for a new LinkedIn profile picture or for your company's marketing materials.
The specifics can differ slightly from one service to another, so it’s always smart to check the terms of service. But generally, here's how it breaks down:
- Personal Use: You're almost always free to use them for things like social media profiles or sharing with family and friends.
- Commercial Use: Most paid platforms give you full commercial rights, meaning you can use them for your business without any issues.
- The AI Model: It's important to remember that you own the pictures you create, not the AI technology that made them.
Knowing this lets you use your new portraits confidently, without worrying about any legal gray areas later on.
Ready to create stunning, photorealistic portraits in minutes? With YourAIPhotographer, you can train your personal AI model and generate unlimited high-quality images. Get your professional headshots today.