

How to Make an AI Avatar a Beginner's Guide
Learn how to make an AI avatar with our simple, practical guide. We cover the best tools, photo prep, and customization tips to create your digital self.
Table of Contents
It all starts with a pretty straightforward process: you pick an AI generator you like, upload about 10-20 good photos of yourself, and let the tool work its magic. In just a few minutes, the AI transforms your pictures into a polished digital version of you.
Why Is Everyone Suddenly Making an AI Avatar?
If you've been on social media or LinkedIn lately, you've probably noticed a flood of AI-generated avatars. It seems like they appeared out of nowhere, but this is more than just a passing fad—it's a fundamental change in how we think about our online identity. The real magic is in the mix of total creative freedom and deep personalization.
You no longer have to schedule—and pay for—a professional photoshoot just to get a decent headshot. Now, you can create dozens of high-quality, perfectly styled images right from your couch. This is a huge deal for professionals, creators, or anyone who wants a sharp personal brand without the usual hassle and cost.
The Rush to Create Digital Personas
The technology powering these avatars is getting better by the day, largely because so many people want them. The AI avatar market is expected to balloon from USD 0.80 billion in 2025 to an incredible USD 5.93 billion by 2032. That’s a massive jump, with a 33.1% annual growth rate, showing just how important these digital selves are becoming across all sorts of industries. You can dive deeper into the AI avatar market growth on PR Newswire.
An AI avatar is more than just a profile picture. It's your stand-in for the digital world. It gives you complete control over your online image, helps protect your privacy, and lets you play around with different styles that show off your personality.
For a clearer picture of what's possible, let's break down the essential steps to get you started.
Core Steps to Your First AI Avatar
This table summarizes the main stages you'll go through. Getting these right is key to creating an avatar you'll love.
| Phase | Key Action | Why It's Important |
|---|---|---|
| Tool Selection | Choose an AI avatar generator that fits your needs and budget. | Different tools offer unique styles, features, and pricing. Your choice sets the foundation for the final look. |
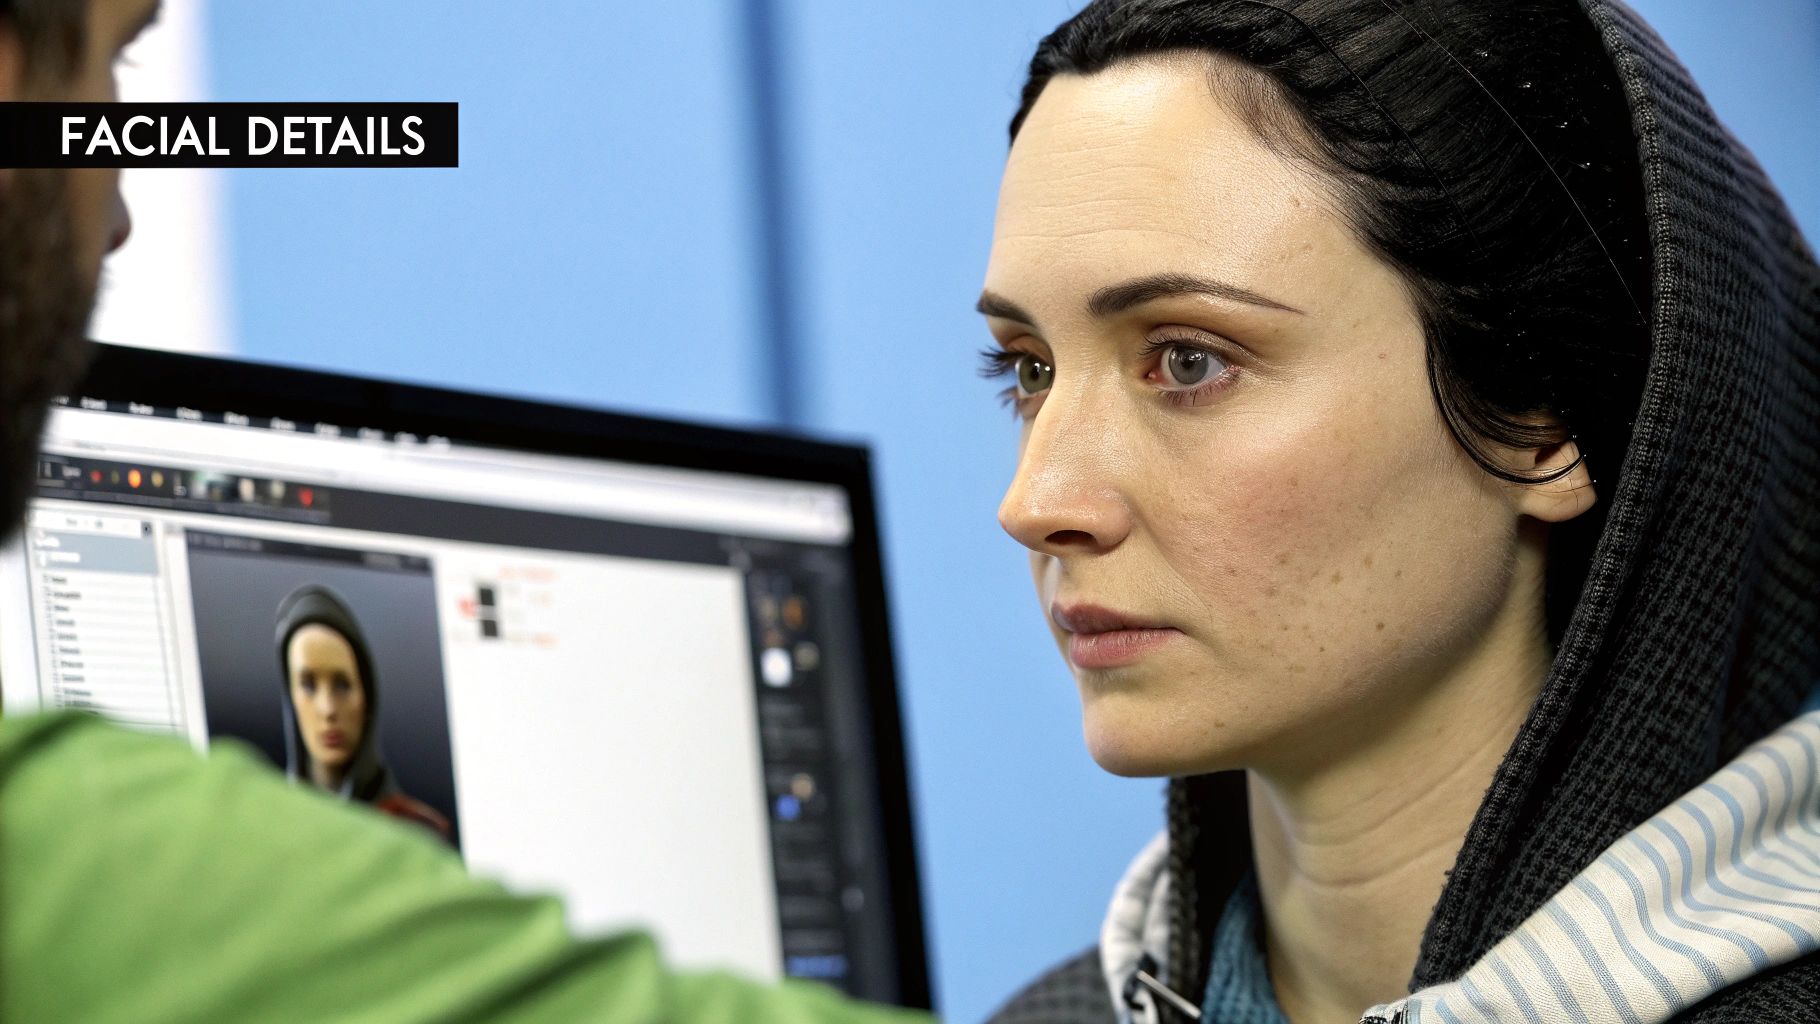
| Photo Upload | Provide 10-20 high-quality, varied photos of yourself. | The AI learns your facial features from these images. Good input photos are the secret to a great result. |
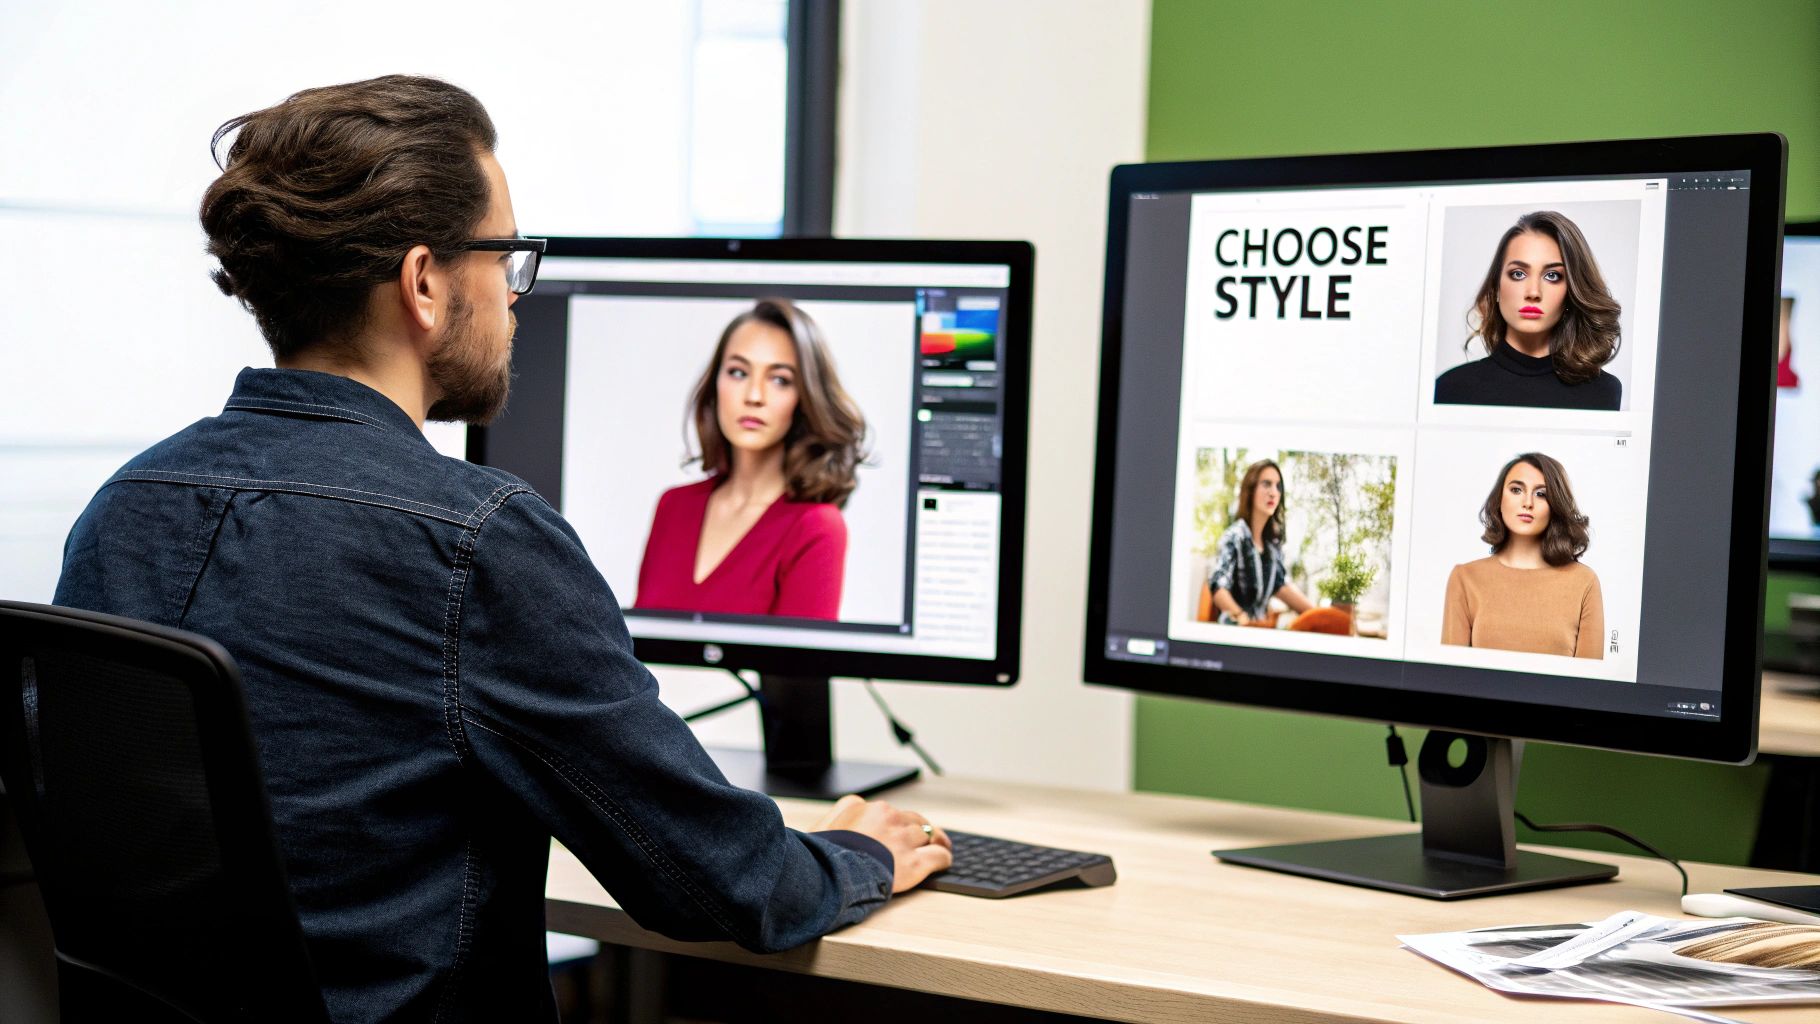
| Style & Prompting | Select your desired styles or write a custom prompt. | This is where you direct the AI's creativity, telling it whether you want a professional headshot or a fantasy character. |
| Generation | Let the AI process your photos and generate the avatars. | The tool synthesizes your likeness with the chosen style to create dozens of unique images in minutes. |
| Review & Refine | Look through the results, save your favorites, and refine if needed. | You can often tweak prompts or styles to get even closer to your ideal image. |
Following these steps will put you on the fast track to a stunning and personalized avatar.
As you can see, an avatar can be anything from a simple cartoon to a lifelike digital twin. The creative possibilities are endless.
While this guide gets you started with the basics, our other article on how to make AI images of yourself dives much deeper into turning your photos into all kinds of compelling visuals.
Choosing the Right AI Avatar Generator for You
Not all AI avatar generators are built the same, and the tool you pick will absolutely define your final result. With so many choices popping up, it can feel a little overwhelming. But it really just boils down to one simple question: what do you need this avatar for?
Are you just looking to create a cool, stylized profile picture for your social media accounts? Or do you need a super realistic digital version of yourself for professional branding and marketing videos? Answering that first will point you in the right direction.
Distinguishing Between Generator Types
Simple mobile apps are your best friend for speed and convenience. They're loaded with trendy artistic filters and are perfect for whipping up a fun, eye-catching avatar in just a few minutes. Think of them as the point-and-shoot cameras of the avatar world—fantastic for casual use, but you don't get a ton of creative control.
On the flip side, web-based platforms like Synthesia or YourAIPhotographer give you a much deeper level of customization. These tools are really built for people who need high-quality, consistent results for things like professional headshots, marketing materials, or even full-on video presentations. You get way more say over the final output, from the lighting and style right down to the clothes.
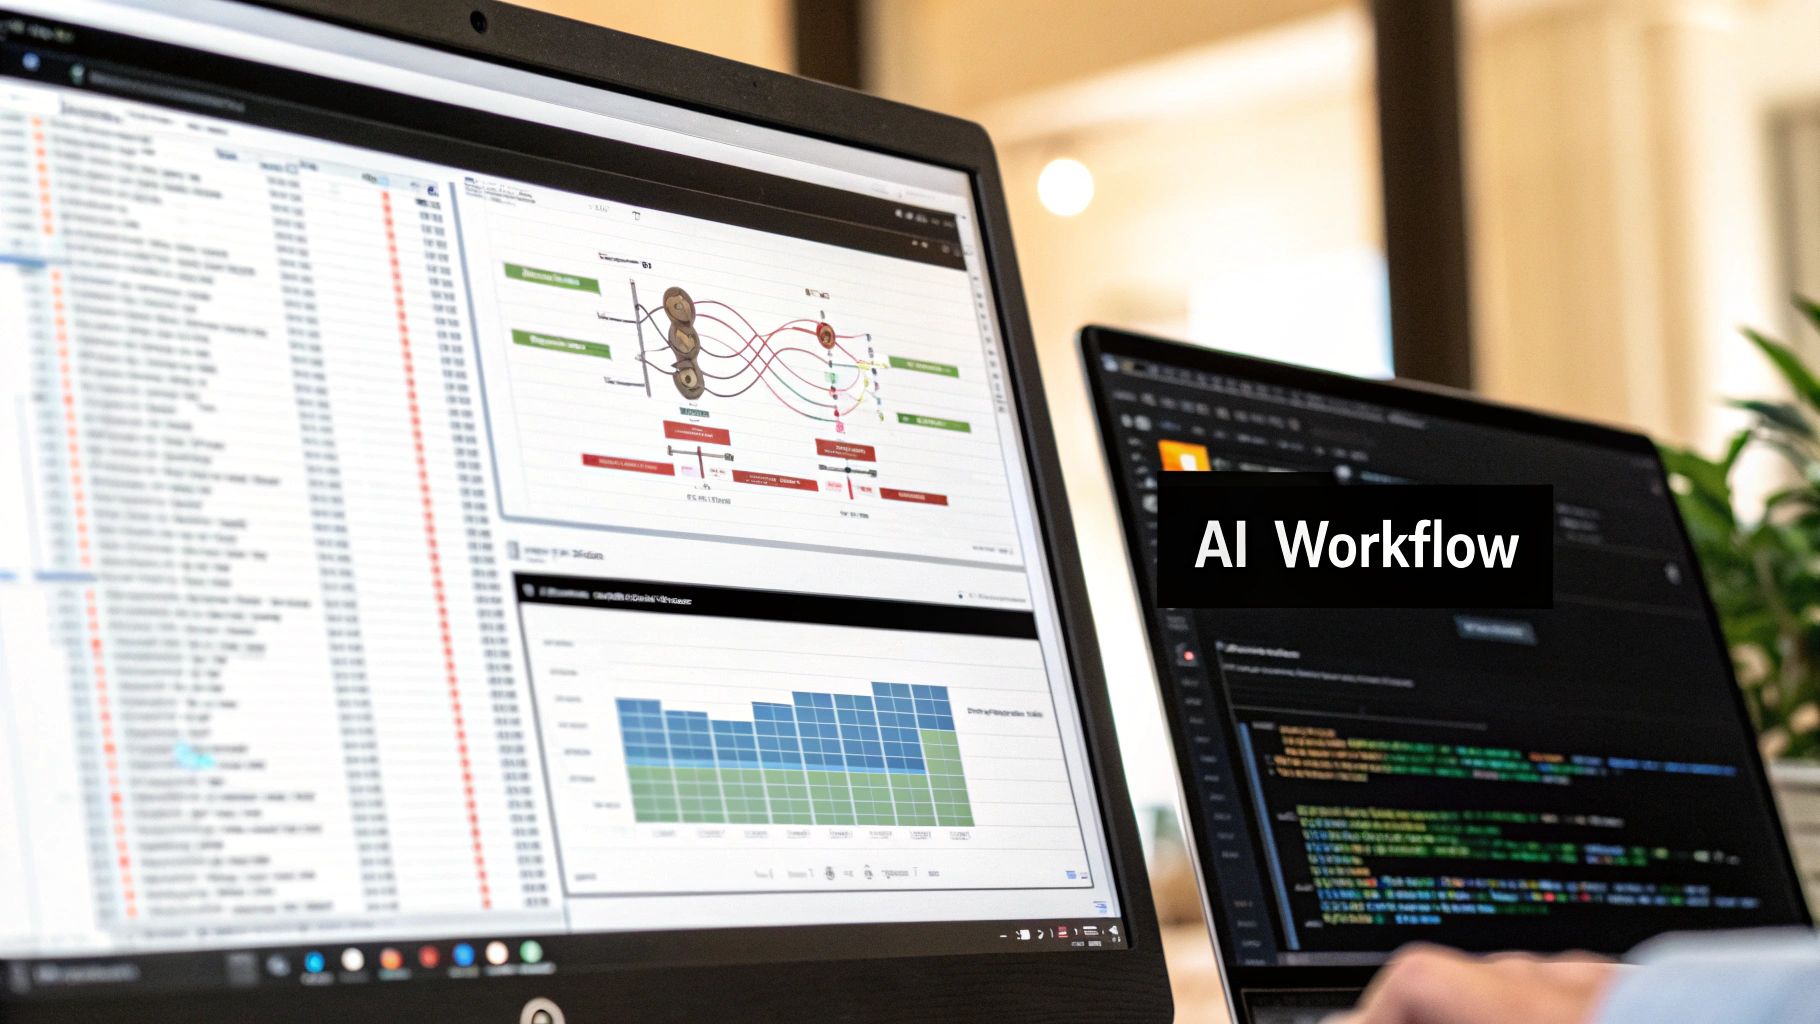
Here’s a peek at what the interface for a more professional-grade tool looks like, specifically for creating video avatars.
As you can see, this kind of platform is all about realism and control. It lets you generate avatars that can actually speak and gesture, which is a massive leap forward from a simple static picture.
Key Factors to Consider
When you’re ready to make an AI avatar, there’s more to think about than just how the final image looks. As you start comparing different services, keep these points in mind:
- Ease of Use: Is the platform actually easy to navigate? A clunky interface can suck all the fun out of a creative project. You want to see a clean layout with instructions that make sense.
- Customization Options: Can you guide the AI with your own text prompts, or are you stuck with a handful of pre-set styles? The more control you have, the more the avatar will feel genuinely like you.
- Pricing Structure: The costs can be all over the place. Some are free but have ads, others are a one-time payment, and many run on a monthly subscription. Figure out your budget and how often you'll be using it before you pull out your wallet.
- Data Privacy: This one’s a big deal. You’re uploading your personal photos, so you need to know your privacy is protected. Always check the platform's policy to see how they handle your data and whether your images get deleted after you're done.
A great AI avatar generator should feel like a creative partner, not just a vending machine for images. It should empower you to bring your vision to life while respecting your privacy and providing a clear, fair pricing model.
The growth in this space is just incredible. The AI avatar app market was valued at USD 1.35 billion in 2024 and is projected to skyrocket to USD 11.54 billion by 2032. This boom is being fueled by new tech that allows avatars to mimic human behaviors with uncanny realism, making them more useful than ever before. You can read more about the AI avatar app market projections on GlobeNewswire.
Ultimately, picking the right tool is the first—and most important—step in this whole process. To see some of the top options out there, take a look at our guide on the best AI portrait generators for a detailed comparison.
A Detailed Walkthrough of the Creation Process
Alright, you've picked out a generator. Now for the fun part: actually making your AI avatar. Think of this less as a technical task and more as a creative project. The single most important thing to remember is that the quality of your final avatar is a direct reflection of the photos you feed the AI.
The AI needs clear, consistent information to learn what you look like. If you give it garbage, you'll get garbage back—distorted, generic, or just plain weird results. You're basically teaching a digital artist to draw you, so give it the best reference material possible.
Preparing Your Photos for the Best Results
Your mission here is to gather a solid collection of high-quality photos. The AI needs to see your face from different angles, with various expressions, and in a few lighting situations to build an accurate model of you. This means those old, blurry photos or screenshots from Zoom calls are out.
Here’s what you should focus on when picking your source images:
- Lighting is Everything: Use photos where the light is clear and even. Natural light from a window is usually your best bet. Steer clear of harsh shadows, backlighting, or dark rooms where your features get lost.
- Variety in Angles: You need a good mix of shots. Include some straight-on headshots, some three-quarter profiles, and maybe even a few full-body pictures. This gives the AI a 3D understanding of your face.
- Mix Up Your Expressions: Don't just upload ten photos with the same smile. Give it some variety! A neutral expression, a big laugh, a serious look—this helps the AI understand how your face moves.
- Keep Backgrounds Simple: Uncluttered backgrounds are your friend. A busy scene can sometimes confuse the AI and distract it from the main subject: you.
Getting your photos together isn't complicated. This infographic breaks down the simple, three-step workflow for collecting your best reference shots.

As you can see, thinking about your style goal first makes it much easier to pick the right images for the job.
Navigating the Generator Interface
With your photo collection ready, it’s time to head over to the generator. Most modern tools have made this part incredibly simple. You’ll usually find a clear, straightforward prompt to upload your curated set of 10 to 20 images.
Once you've uploaded them, the AI gets to work "training" its model on your face. This can take anywhere from a few minutes to an hour, depending on the platform and how busy it is. This is where the real magic happens. The AI analyzes every feature across all your photos to build a flexible digital version of you. While it's chugging away in the background, you can start dreaming up the styles you want to create.
Key Takeaway: The training phase is the most critical part of the process. A model trained on high-quality, varied photos is the foundation for creating realistic and versatile avatars that actually look like you.
Choosing Styles and Using Prompts
Once the model is trained, you can finally start generating images. This is where you bring your original goal to life, whether that’s a polished professional headshot or a wild fantasy character.
Let's walk through a couple of real-world examples:
- Professional LinkedIn Avatar: Your goal here is a photorealistic, corporate look. You'd probably start by selecting pre-made styles like "professional," "headshot," or "business." To get more specific, you could use a text prompt like, "a professional corporate headshot, wearing a dark blue suit, in a modern office background, soft lighting." The AI will then merge your trained face with those instructions.
- Fantasy Gaming Avatar: For this, you’re aiming for creativity. You might pick styles such as "fantasy," "cyberpunk," or "anime." A prompt could be something like, "a fantasy elf warrior, with glowing silver armor, in an enchanted forest at dusk, cinematic lighting."
It's amazing how different the results from these two prompts will be, even though they use the exact same trained model of your face. It really shows you how much creative control you have.
For a deeper dive into what’s possible, our guide on how to create AI photos of yourself has even more tips and examples. The key is to just play around with different styles and descriptive words—that’s how you’ll discover everything your AI avatar generator can do.
Customizing Your Avatar to Reflect Your Personality
 Once you've trained the base AI model with your photos, the real fun starts. You're shifting gears from the technical setup to becoming an art director. This is where you get to mold a basic digital likeness into an avatar that actually feels like you—or whatever brand or creative vision you have in mind.
The secret to making this happen? It all comes down to mastering the text prompt.
A great prompt is your direct line of communication with the AI. It’s how you go beyond the default styles and start calling the shots on everything from the mood and lighting to the specific clothes your avatar is wearing. This control is what makes the difference between a generic avatar and one that truly stands out.
The Power of a Descriptive Prompt
Think about it like you're giving directions to an artist. If you're vague, you'll get a vague result. Simply typing "make me look cool" is a gamble. The AI has to guess what you mean by "cool" and will probably spit out something cliché.
But what if you get specific? Instead of just "cool," try describing the exact scene you see in your head: "a photorealistic avatar wearing a black leather jacket, standing on a neon-lit city street at night, with a confident expression." See the difference? That level of detail gives the AI a clear roadmap, leading to a much more powerful and personalized image.
A good habit is to break your prompts down into a few key building blocks. Before you hit "generate," think through these elements:
- Subject & Clothing: What is the avatar wearing? Be descriptive. "A dark green wool sweater" works much better than "a sweater."
- Setting & Background: Where is your avatar? The background sets the tone. Are they "in a minimalist, sunlit office" or "against a backdrop of dramatic mountain peaks"?
- Lighting: This is a game-changer for mood. Phrases like "soft morning light," "dramatic studio lighting," or "cinematic glow" can completely transform the final image.
- Artistic Style: Are you going for realism or something more stylized? Don't be afraid to ask for a specific look, like "watercolor painting," "vintage film photo," or "cyberpunk art."
The difference between a good and a great AI avatar often comes down to the details in your prompt. Specificity is your best tool for getting the AI to create the exact image you have in mind.
Refining and Generating Variations
Your first try probably won't be perfect. That's totally fine—and completely normal. I rarely get the perfect shot on the first go. Think of your initial results as a draft.
Look at what the AI gave you and refine your prompt. Is the background too distracting? Add "with a blurred, out-of-focus background" to your next attempt. Is the expression a little off? Try tweaking it with "a slight, knowing smile."
Most avatar tools let you generate multiple versions from a single prompt, and you should absolutely use this feature. Creating four or six images at once shows you different ways the AI can interpret your instructions. From there, you can cherry-pick the best one or even borrow elements from several to create a new, more effective prompt.
Here's a pro tip: keep a running list of phrases that give you great results. I have a note where I jot down things that work. For example, I've found that adding "shot on a professional DSLR camera" almost always boosts the realism and quality. Building your own library of these "power phrases" will make your creative process so much faster and more consistent.
If you're creating an avatar specifically for your online profiles, our guide to using an AI profile picture maker has a ton of extra tips for platforms like LinkedIn and Instagram.
Using and Sharing Your New AI Avatar
Alright, so you’ve created an amazing AI avatar. That’s the fun part. But the real magic happens when you start putting that new digital identity to work for you. Let's talk about where and how to actually use your new creation.
Before you start uploading it everywhere, think about the file itself. Most generators will let you download your avatar as a JPEG or PNG. For most web uses, like a profile picture or an email signature, a high-quality JPEG will do the trick. If you need a transparent background—say, for layering it onto a YouTube banner—you’ll definitely want to grab the PNG version.
Weaving Your Avatar into Your Digital Life
Your new avatar isn't just a cool picture; it's a powerful way to build a consistent and memorable online presence. Using the same image across all your platforms creates a unified identity that people start to recognize instantly.
Here are a few places I've seen them used to great effect:
- Social Media Profiles: Swap out your old pictures on LinkedIn, Instagram, X (formerly Twitter), and Facebook. A fresh, professional look helps you stand out.
- Virtual Meetings: Set it as your profile picture in Zoom or Google Meet. This is a lifesaver on those camera-off days when you still want to look professional.
- Email Signatures: Adding a polished headshot to your email signature gives your messages a personal touch and makes them much more memorable.
- Creative Content: Use your avatar in YouTube thumbnails, blog post graphics, or even on your digital business card. It's surprisingly versatile.
Think of your avatar as a digital asset that works for you 24/7. When you use it consistently, you’re building a personal brand that gets recognized, helping you cut through the noise online.
This isn't just a passing trend. The AI avatar market is absolutely exploding—it's projected to hit an incredible USD 63.5 billion by 2034, up from just USD 2.5 billion in 2024. You can dig into more of the numbers on the AI avatar market's future on Market.us. That growth shows just how integrated these digital personas are becoming, from customer service bots to marketing campaigns.
A Quick Word on Sharing Responsibly
When you start sharing AI-generated content, it’s smart to keep a few things in mind. Transparency is your friend. If you’re building a professional brand, especially on a platform like Instagram, you want your audience to trust you. For anyone serious about their social strategy, our guide on how to grow Instagram followers is packed with useful tips.
Finally, always think about the context. A cool, fantasy-style avatar might be a huge hit in your gaming community, but it probably won't land the same way on your corporate LinkedIn profile. Always match the avatar's style to the platform and the people you’re trying to connect with. It’s a simple step that makes a world of difference.
Common Questions About Making AI Avatars
Even with a step-by-step guide, you probably still have a few questions rattling around. That's completely normal. When you're working with your own photos and new tech, getting a bit more clarity is always a good idea. So, let’s jump into some of the most common things people ask when they decide to create an AI avatar.
Getting these details straight will help you feel more confident as you build your digital self, ensuring you love the final product and know your data is secure.
Is It Safe to Upload My Photos to an AI Generator?
This is the big one, and for good reason. The short answer is: it all comes down to the tool you pick. A trustworthy AI generator will have a crystal-clear privacy policy that spells out exactly how your photos are used and for how long.
Before uploading a single image, hunt for their policy on data retention. You’re looking for a clear statement that your photos are only used to train your personal AI model and are wiped from their servers soon after. If a service is wishy-washy about how it handles your images, that’s a major red flag.
My Two Cents: Your privacy is non-negotiable. Always read the terms of service to make sure your photos won't be used for anything else without your permission. If the policy is confusing or vague, just walk away and find a better tool.
Why Do My Avatars Not Look Exactly Like Me?
It’s easy to think of these tools as digital photocopiers, but they’re more like artistic interpreters. The final avatar is a creative mashup of your facial features and the specific art style you chose. The AI’s goal isn't to create a perfect mirror image of you.
If your avatars feel a little "off," the problem usually traces back to the photos you uploaded. The more high-quality, varied information you feed the AI, the better it can grasp what makes you look like you.
- Mix up the angles: Don't just use straight-on shots. Include some profile and three-quarter views.
- Show different expressions: If you use ten photos with the exact same smile, the AI gets a very limited view.
- Check the lighting: Avoid dramatic shadows or blown-out highlights that hide your features.
How Many Photos Do I Need for Good Results?
Most services ask for somewhere between 10 to 20 photos. But honestly, the quality and variety of those pictures matter way more than the exact count.
Think of it like this: 20 blurry, nearly identical photos will give you a far worse outcome than 10 sharp, distinct images. Your goal is to give the AI a rich dataset to learn from, covering your face in different scenarios. This is what helps it create a digital version of you that’s both accurate and flexible.
Ready to create stunning, photorealistic avatars that truly stand out? With YourAIPhotographer, you can train a personalized AI model in minutes and generate unlimited high-quality images. Stop settling for generic profile pictures and start building a powerful digital identity today. Get started with YourAIPhotographer.