How to Edit Images in YourAIPhotographer
With YourAIPhotographer, you can edit any image using plain English prompts. Whether you want to change the background, modify the setting, remove unwanted elements, or incorporate new elements from other photos, the editing feature makes it easy to transform your images exactly how you envision them.
You can edit:
- AI-generated photos you created in YourAIPhotographer
- Photos you upload from your device
- Previously edited photos — you can continue editing edited images for unlimited iterations
1. Editing AI-Generated Photos
Click Edit Photo on a Photo Card

In the Studio tab, each image card now shows an "Edit Photo" button near the bottom of the card.
Click the Edit Photo button to open the editing modal.
💡 Tip: The Edit button only appears on photos that haven't been upscaled. If you want to edit a photo, do it before upscaling.
2. Describe Your Changes in Plain English
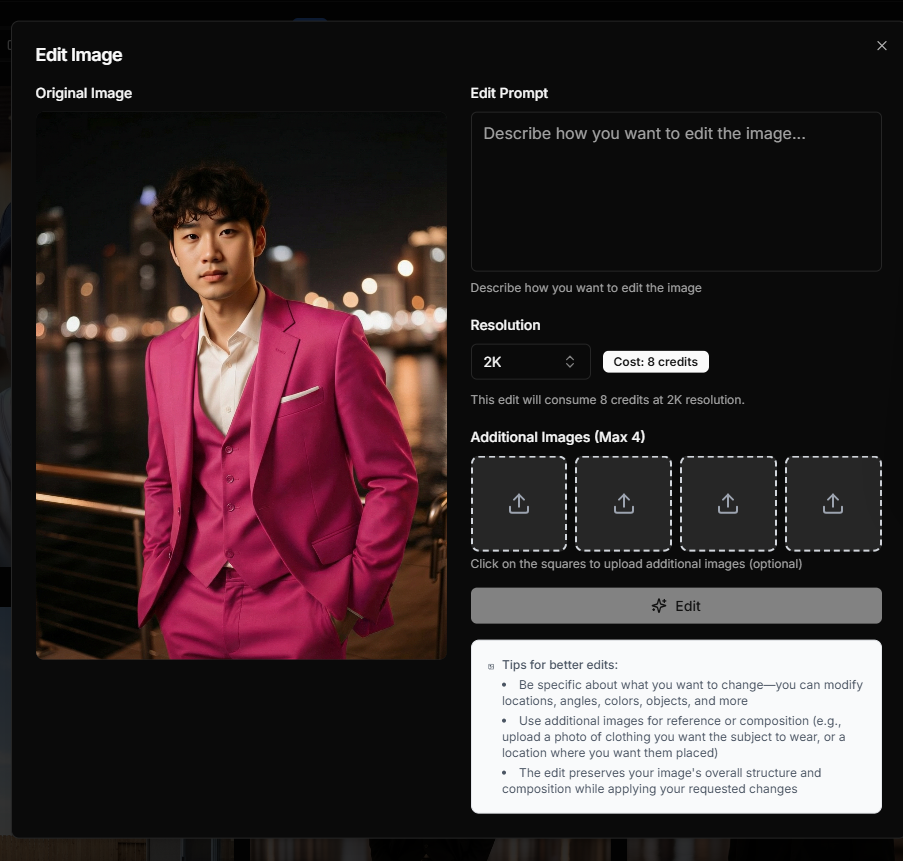
Once the editing modal opens, you'll see the image you're editing on the left and editing controls on the right.
In the Edit Prompt field, describe in plain English what you want to change about the image. You can:
- Change the background: "Change the background to a beach sunset"
- Modify the setting: "Put the model in a modern office setting"
- Remove elements: "Remove the car in the background"
- Add elements: "Add a dog sitting next to the model"
- Change colors or mood: "Make the lighting warmer and more cinematic"
The more specific you are, the better the results. For example:
⚠️ Example of a vague prompt:
change background
This doesn't specify what kind of background you want.
✅ Example of a good prompt:
Change the background to a modern minimalist office with large windows, natural daylight, and a city skyline view
This gives the AI clear direction for the exact changes you want.
Choose Your Resolution
Before starting the edit, you can select the resolution for your edited image:
- 1K — Lower resolution, faster processing
- 2K — Default option, balanced quality and processing time
- 4K — Highest resolution, best quality
The resolution is set to 2K by default, which provides excellent quality for most use cases. You can change it using the resolution dropdown in the editing modal.
💡 Note: Higher resolutions consume more credits and may take slightly longer to process.
3. Upload Additional Images (Optional)
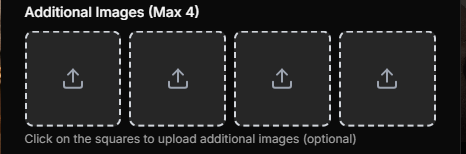
If you want to incorporate specific elements from other photos, you can upload up to 4 additional images as reference.
For example:
- Upload a photo of clothing you want the subject to wear
- Upload a location photo where you want the subject placed
- Upload an object you want to add to the scene
Click on the empty squares in the Additional Images section to upload your reference photos. The AI will use these as visual references to understand what you want to incorporate.
Start the Edit Process
Once you've:
- Written your edit prompt describing the changes you want
- (Optionally) uploaded additional reference images
- Selected your desired resolution (default is 2K)
Click the "Edit" button to start the editing process.
The edit will begin processing and typically takes a few seconds to complete. You'll see a progress indicator in the modal, and once finished, your edited image will appear in the results.
⚡ The processing time may vary depending on the complexity of your edit and the selected resolution.
4. Upload a Photo from Your Device

You're not limited to editing only AI-generated photos. You can also edit any photo you have on your device.
- Click "Upload photo" in the sidebar
- A modal will appear — select the photo you want to edit
- Your image will appear in the Studio tab
- Click the "Edit Photo" button on the image card
- The editing modal opens so you can make your changes
5. Continue Editing Edited Photos
One of the powerful features of YourAIPhotographer is that you can continue editing photos that have already been edited.
After an edit is complete:
- The edited result will appear in the modal
- Click the "Edit" button again (it will now say "Edit" instead of starting a new edit)
- The edited image becomes your new base image
- Describe your next set of changes
- Generate another edit
This allows you to make iterative improvements and refine your images through multiple editing passes until you achieve the perfect result.
⚠️ Important Notes
Edit Before Upscaling
You cannot edit upscaled photos. If you want to edit a photo, make sure to do it before you apply the upscale feature.
The workflow should be:
- Generate or upload your photo
- Edit it to make any desired changes
- Upscale it for higher resolution
💡 Pro Tip: Plan your edits before upscaling. Once a photo is upscaled, you'll need to start with the original version if you want to make changes.
🧠 Pro Tips
- Be specific in your prompts — Mention details like lighting, colors, mood, and composition for better results
- Use additional images strategically — Upload reference photos when you want to incorporate specific elements
- Iterate on edits — Don't be afraid to edit an edited photo multiple times to refine the result
- Edit before upscaling — Always make your edits first, then upscale for the final high-resolution version
- Experiment with different prompts — Try various ways of describing the same change to see which works best
Next Steps
- Learn how to create AI photos →
- Discover how to use the AI upscaler →
- Explore creating your first AI model →