

Remove Double Chin Photo: Easy Tips to Enhance Your Pictures
Discover how to remove double chin photo issues with quick posing, apps, and editing techniques for natural-looking results.
Table of Contents
Learning how to fix a double chin in a photo is surprisingly easy, and with the right approach, it can take just a few seconds. You’ve got a few options, from simple posing tricks that work wonders before the camera even clicks to powerful editing apps that clean things up afterward.
A Practical Guide to Getting a Sharper Jawline in Your Photos
Ever taken a photo and felt it just didn't do you justice? We've all been there. It’s a common frustration, especially when you’re aiming for a clean, defined jawline. This guide is all about giving you the tools to get that sharp, confident look you want in your pictures.
We're going to skip the fluff and focus on what actually works. The goal isn’t to completely change how you look, but to give you the final say over the image so it truly reflects how you see yourself. Think of it as having more control, not as a critique of beauty standards.
We’ll cover a few key areas you can start using right away:
- Posing That Works: Simple adjustments you can make before the photo is even taken to naturally slim your jawline.
- Quick Mobile Edits: User-friendly apps that get the job done in seconds, perfect for when you're on the go.
- Pro-Level Retouching: A peek into desktop tools like Photoshop for those who want pixel-perfect precision.
This focus on a defined jaw isn't just a digital thing; it's a trend we see reflected in the real world, too. Back in 2022, cosmetic facial procedures in the US hit 682,932—that’s a massive 77% jump from previous years. A huge part of that growth was driven by demand for defined jawlines, with chin augmentations and neck lifts becoming way more common. Liposuction, a go-to for double chins, also increased by 23% to over 325,000 procedures. It’s clear that selfie culture and social media have put a huge spotlight on facial contours. You can dig into the numbers yourself in the full 2022 report from The Aesthetic Society.
The best edits are the ones no one can spot. The idea is to gently enhance the photo, not erase what makes you, you. You want a final image that feels both polished and completely authentic.
So, whether you’re totally new to photo editing or just want to sharpen your skills, this guide has you covered. Let's get started.
Get a Better Photo Before You Start Editing
The easiest way to remove a double chin from a photo is to make sure it barely shows up in the first place. Honestly, the best edit is the one you never have to make.
Before you even think about opening a photo editor, a few simple adjustments to your pose and the lighting can make a massive difference. These aren't complicated studio secrets; they're just practical tweaks anyone can learn in a few seconds.

Master Your Pose and Angle
One of the most effective tricks is something photographers often call the "turtle" technique. It feels a little weird at first, but trust me, it works wonders for defining the jawline.
Just gently push your head forward and away from your neck, like you're a turtle peeking out of its shell. Then, slightly tilt your chin down. This simple motion stretches the skin under your chin and creates a much sharper, more defined jawline right in the camera.
Another go-to move is to play with the camera angle. Shooting from just slightly above eye level is almost universally flattering because it naturally elongates your neck and slims your face. Whatever you do, try to avoid shots taken from a low angle—they have a nasty habit of compressing the neck and creating the exact problem you want to solve. Mastering these angles is a huge part of learning https://youraiphotographer.com/blog/how-to-take-cute-selfies.
The goal isn't to hide, but to highlight. Good posing uses angles and posture to emphasize your best features, creating definition and shape where you want it most.
Use Lighting to Your Advantage
Lighting can be your best friend or your worst enemy in a photo. Harsh light coming from directly below is a big no-no; it will cast all sorts of unflattering shadows under your chin and make things look worse than they are.
Instead, always try to face your main light source. You want it to be in front of you and slightly elevated.
Natural light coming from a window is absolutely perfect for this. It provides soft, even illumination that smooths everything out and keeps harsh shadows at bay. If you're stuck with overhead indoor lighting, just take a small step back. You want the light to hit your forehead, not the very top of your head, which helps prevent those deep shadows under the jaw.
Of course, if you're into makeup, learning some effective contouring techniques can also do a lot of the heavy lifting before the camera even clicks. By applying these in-camera fixes first, any digital editing you do later will be minimal, subtle, and far more believable.
Here's a quick rundown of these simple, in-camera techniques to help you get a better shot from the start.
Quick Posing and Lighting Fixes
| Technique | How It Works | Best For |
|---|---|---|
| The "Turtle" Pose | Gently push your forehead forward and your chin slightly down. | Creating immediate jawline definition in portraits and selfies. |
| High Camera Angle | Position the camera slightly above your eye level and look up at it. | Elongating the neck and slimming the face for a flattering look. |
| Front-Facing Light | Face a soft light source, like a window, so it illuminates you directly. | Minimizing harsh shadows under the chin and smoothing skin. |
| Avoid Low Angles | Never shoot from below your chin level. | Preventing the camera from compressing your neck and creating shadows. |
Getting these basics right means you’ll spend less time wrestling with editing software and more time enjoying great photos.
Making Quick Edits on Your Phone
Sometimes you just need a quick fix, and for that, your phone is probably all you need. The trick isn't just grabbing any old photo app; it’s about knowing which specific tools to use to get a result that doesn't scream "edited."
Most of the big-name editing apps—think Facetune, Snapseed, or YouCam Makeup—have a feature called 'Reshape' or 'Liquify'. This is your secret weapon. It lets you gently nudge pixels around to redefine the jawline. The absolute key here is subtlety. A light touch is everything.
Mastering the Subtle Tweak
First things first: open your photo and pinch to zoom right in on the jaw and neck. Working up close gives you way more control and helps you avoid those clumsy, obvious mistakes.
Once you’ve selected the reshape tool, make your brush size fairly small. You want it just big enough to cover the area you’re adjusting without accidentally grabbing parts of the background. From there, gently push the pixels inward and upward along the jawline. The idea is to create a smoother, more defined contour, not to give yourself digital plastic surgery.
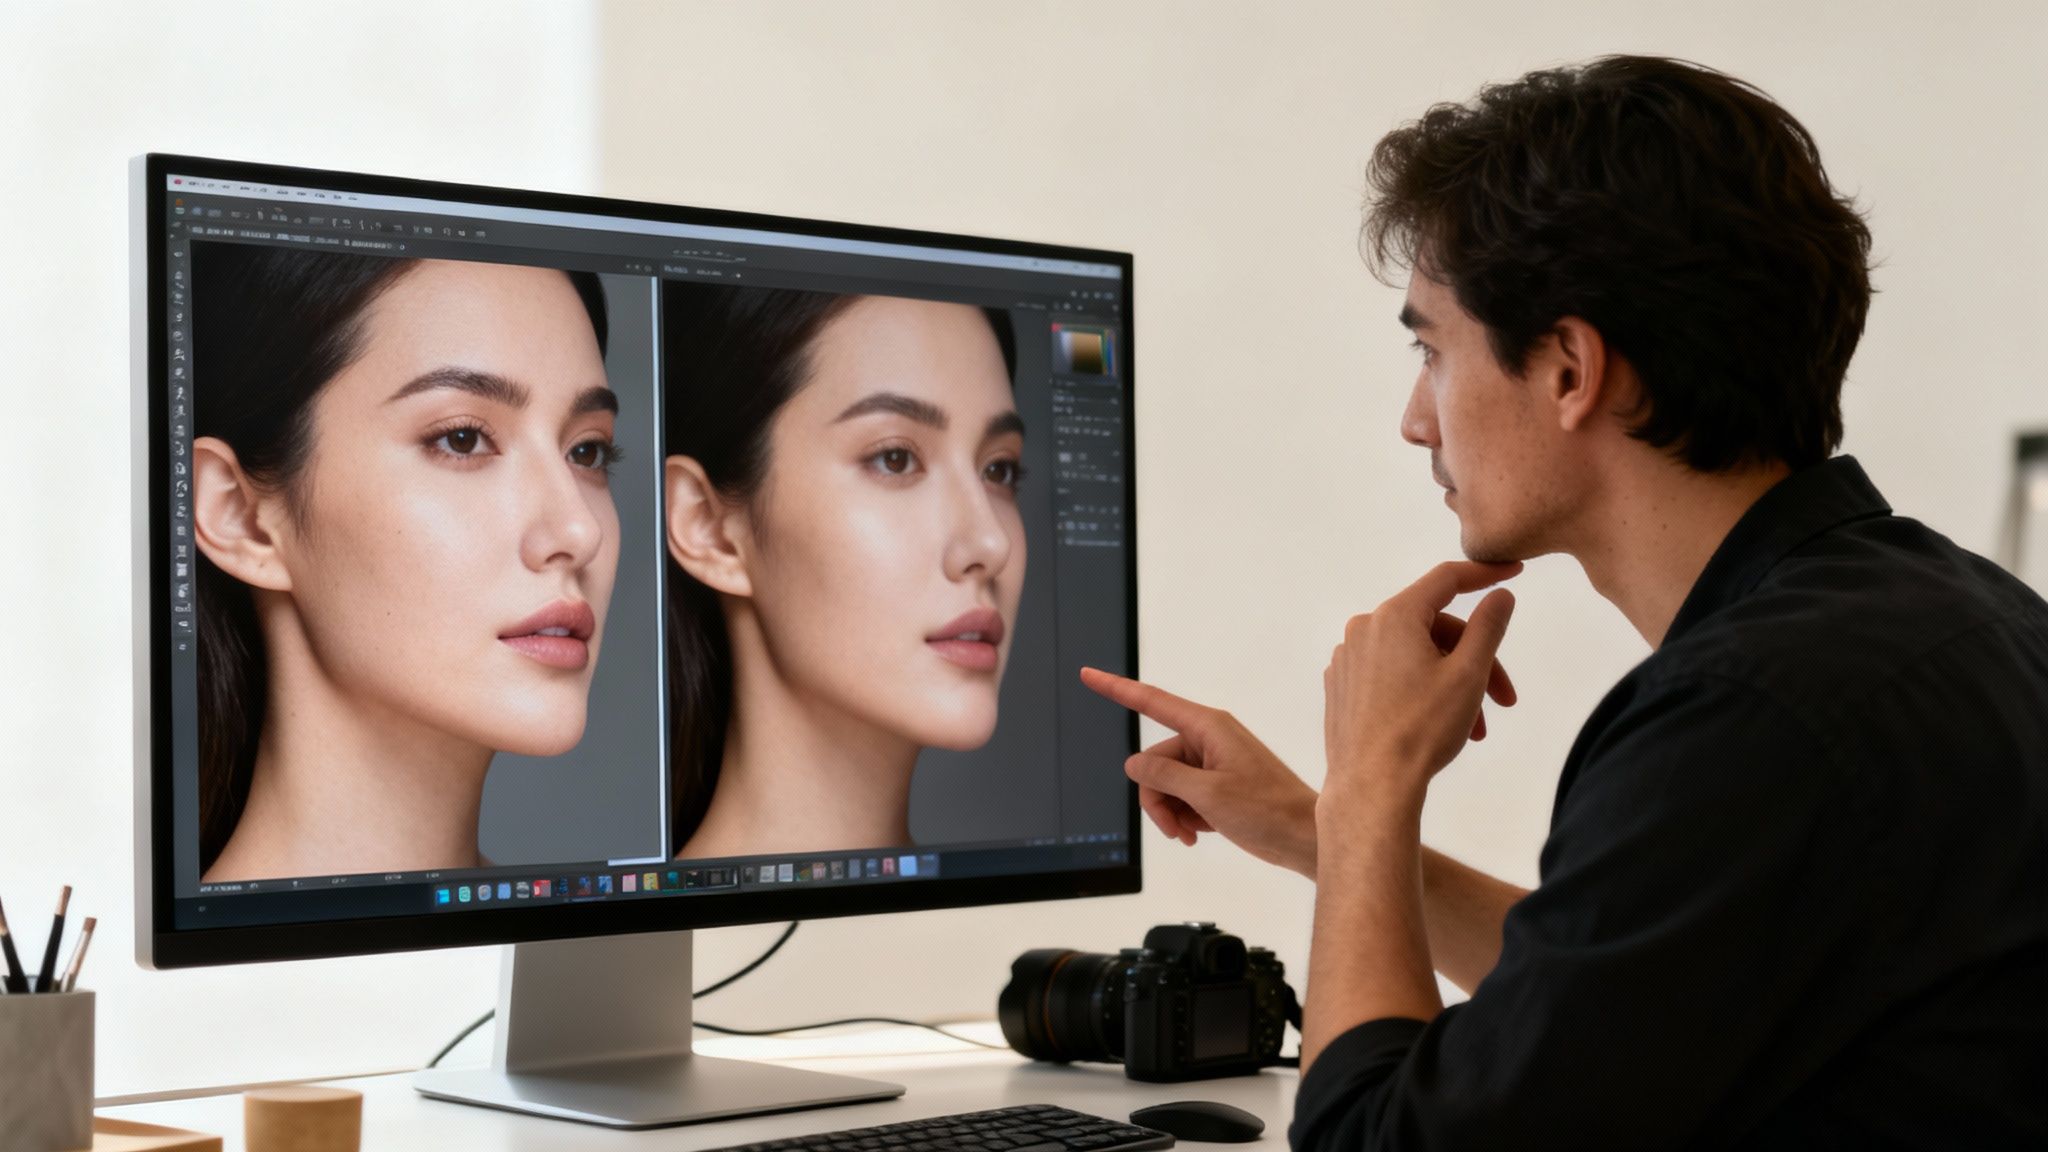
My personal rule of thumb is this: if you can immediately tell it's been edited, you’ve pushed it too far. I constantly flip between the 'before' and 'after' views to keep my edits grounded in reality. This is the single best way to avoid that weird, distorted "funhouse mirror" look.
This back-and-forth comparison is your reality check. Don't skip it.
Avoiding Common Mobile Editing Mistakes
It's no surprise people are looking for these quick fixes. We see a similar trend in the real world. In 2023, for instance, neck lift procedures went up by 2%, and liposuction saw a 7% increase. This focus on aesthetics explains why so many of us turn to our phones for a quick, non-invasive confidence boost. You can dig into the numbers yourself in the full report from the American Society of Plastic Surgeons.
As you're making your adjustments, keep these pointers in mind for a more professional-looking edit:
- Work in small steps. Don't try to fix everything with one big, dramatic swipe. Instead, use a series of small, gentle nudges to gradually sculpt the jawline.
- Watch the background. This is a classic rookie mistake. A warped doorframe or a wavy line in the wallpaper is a dead giveaway that you've been messing with the pixels.
- Keep an eye on skin texture. Going overboard with the reshape tool can smudge the skin, making it look blurry and fake. Make sure the area you edited still has a natural texture.
Many of today's apps are getting incredibly smart, which definitely helps. If you're looking for tools that do some of the heavy lifting for you, check out our guide to the best AI photo apps. Many of them can deliver impressive results with less manual effort.
In the end, the best mobile edits are the ones nobody notices—the subtle enhancements that make you feel great without sacrificing the real you.
Taking it to the Pros: Desktop Software Retouching
When you need results that go beyond a quick mobile edit, it’s time to fire up the desktop. Software like Adobe Photoshop or Affinity Photo is where the real work gets done, giving you the kind of fine-tuned control needed to remove a double chin from a photo so cleanly no one will ever know you touched it.
The first rule of pro retouching is to work non-destructively. I can't stress this enough. Every single adjustment I make happens on its own duplicated layer. This lets me experiment, dial things back, or scrap an idea entirely without ever damaging the original photo. It's my safety net.
Subtle Sculpting with the Liquify Tool
Most people jump straight to the Liquify tool for this kind of work, but it’s a tool that demands a delicate touch. It’s incredibly easy to overdo it. My own process is to use it with extreme caution, making tiny, gradual changes.
In Photoshop, I’ll open the Liquify filter (Filter > Liquify) and grab the Forward Warp Tool. The key here is to dial the pressure way down—I usually keep it around 20-30%. Instead of one big, dramatic push, I use a series of small, gentle nudges to ease the jawline upward and inward. I’m just trying to smooth out the contour, not completely redraw their face. Zooming in close is a must; you have to see exactly what you're doing to avoid weird distortions in the background or unnatural-looking lines.
It's interesting to see how this digital sculpting mirrors real-world trends. In South Korea, for instance, the cosmetic procedure rate is a staggering 8.90 per 1,000 people, with about a third of young women opting for jaw or chin work. This isn't just a localized phenomenon; the US made up 22% of all global cosmetic surgeries in 2021. Desktop software gives us a powerful, non-invasive alternative to procedures like submental liposuction, which can run anywhere from $1,200 to $1,800 in the States. You can read more about these global beauty trends and statistics over at Mastermind Behavior.
The workflow can be broken down into a simple process of selecting, reshaping, and comparing, as this visual shows.
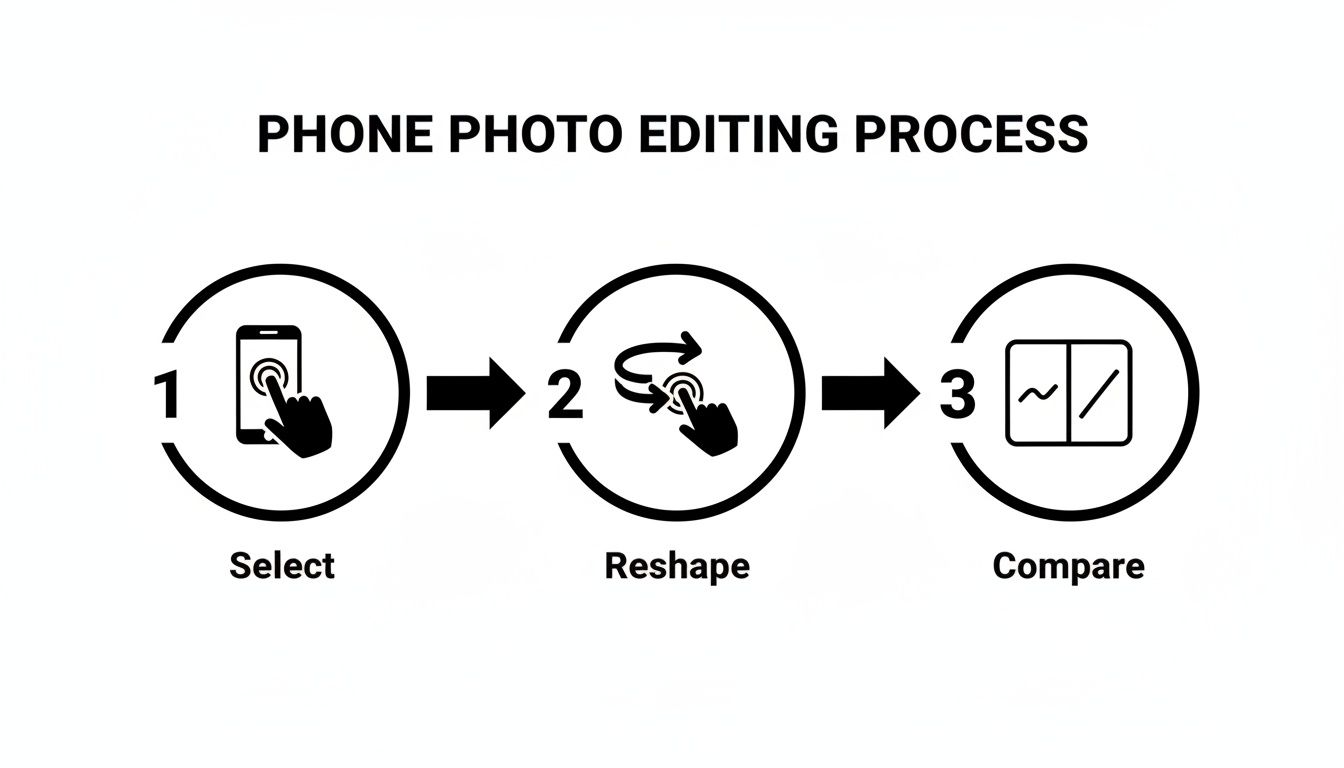
That last step—comparing—is what keeps the edit grounded in reality. You have to constantly check your work against the original.
Defining with Dodge and Burn
While Liquify changes the shape, Dodge and Burn changes the perception of the shape using just light and shadow. Honestly, this is my favorite part of the process because you aren't actually moving a single pixel of their face. You're creating an illusion of a sharper jawline by playing up the natural contours.
Here’s my go-to workflow:
- Set Up the Layers: First, I create two separate Curves adjustment layers. I name one "Dodge" (for lightening) and the other "Burn" (for darkening).
- Create the Effect: I pull the curve up a bit on the Dodge layer and drag it down a bit for the Burn layer. Then, I invert the layer masks for both, filling them with black to hide the effect.
- Paint with Light and Shadow: Now for the artistry. I grab a soft, white brush with the flow set incredibly low—think 1-3%. On the Dodge mask, I gently paint along the jawbone to add a subtle highlight. Then I switch over to the Burn mask and paint into the shadow area right under the jaw.
This technique adds a tiny bit of contrast right where you need it, making the jawline pop. It’s the ultimate "less is more" approach for a totally believable result.
Pro Tip: Always, always do your dodging and burning on separate layers. It’s not just about protecting the original photo; it also gives you the flexibility to lower the opacity later if the effect is too strong.
The Final Polish with the Healing Brush
The last step is a final cleanup pass with the Healing Brush or Clone Stamp Tool. Sometimes the area under the chin has small shadows, skin folds, or blemishes that distract the eye.
Using the Healing Brush, I’ll sample a clean, well-lit patch of skin nearby and gently paint over those little imperfections. I stick to a small, soft-edged brush and work slowly to ensure the texture and color match perfectly. This isn't about reshaping anymore; it's about creating a smooth, consistent surface that supports the sculpting and contouring you’ve already done.
Getting those textures and tones to blend seamlessly is just as crucial here as it is in advanced color correction for photos. By layering these three techniques—sculpting, contouring, and cleanup—you build a final result that is both professional and completely natural-looking.
Using AI for Effortless Photo Edits
Manual retouching gives you incredible control, but let's be honest—it can be a real time-sink. This is where artificial intelligence completely changes the game. It automates tricky edits, making it possible to remove a double chin from a photo with just a couple of clicks or even a simple typed command.
Tools like Adobe Photoshop’s Generative Fill and other AI-powered editors are now smart enough to understand facial anatomy. They can identify the jawline, neck, and shadows, then make adjustments that look surprisingly natural without you having to lift a digital brush. Instead of painstakingly pushing pixels around, you just tell the AI what you want.
This approach is a massive time-saver. A job that might have taken a meticulous 20 minutes can now be done in about 20 seconds. And often, the results are cleaner because the AI rebuilds skin texture and lighting, avoiding that smudged, over-edited look that can happen with a clumsy manual fix.
Writing Effective Prompts for AI Editors
The secret to getting great results from generative AI is learning how to "talk" to it. A vague prompt like "fix the chin" is a gamble—it might work, or it might give you something bizarre and overly aggressive. To get a subtle, believable outcome, you have to be specific.
Think like a retoucher and describe the final look you're aiming for. Here are a few prompts I’ve found work well:
- "Subtly tighten the jawline and reduce the shadow under the chin."
- "Make the jawline more defined and smooth the neck."
- "Gently lift the area under the chin to create a sharper profile."
The more descriptive you are, the better the AI can interpret your vision. This is a huge part of modern creative work, and you can see how it's changing the industry in our guide to AI for photography.
The real power of AI isn’t just speed; it’s the ability to handle complex tasks like rebuilding texture and blending light. When you get the prompt right, the AI can produce an edit that looks like it was done by a seasoned professional.
The Pros and Cons of AI Retouching
While AI is incredibly powerful, it's not a magic wand. It's crucial to understand its limits to know when it’s the right tool for the job. The biggest advantage, without a doubt, is speed. For quick turnarounds, it’s unmatched.
But there are downsides. The main one is the risk of generic-looking results. AI models are trained on massive datasets, and sometimes their "fixes" can look a bit too perfect, stripping away the unique character of a person's face. You also give up fine-grained control; you're relying on the AI's interpretation instead of making those pixel-by-pixel decisions yourself.
AI tools are getting incredibly precise. For instance, just as AI text remover from image tools can seamlessly erase unwanted text, sophisticated AI can be trained for incredibly subtle facial retouching. For the best of both worlds, I often use a hybrid approach: let the AI do the initial heavy lifting, then jump in with manual tools to add the final, nuanced touches that make the photo feel authentic.
5. The Final Polish: Quality Control and Exporting
You’ve done the hard work, but don't rush to hit "save" just yet. The final review is what separates a decent edit from a truly professional one. This is your chance to catch any small mistakes and make sure the final image looks natural and authentic.
Spotting the Telltale Signs of Editing
The first thing I always check for is background distortion. If you used any kind of warping or liquify tool, take a hard look at the edges of the area you worked on. Are the lines of a wall, a window frame, or any other background element still perfectly straight? A wavy line is a dead giveaway that the photo has been tweaked.
Next, zoom right in and check the skin texture. It's really easy to overdo it and create a blurry, plastic-looking patch where the skin was smoothed or reshaped. The goal is a consistent, believable texture across the entire jawline and neck. If one spot looks smudged, it's an instant red flag.
Adopt a "Less Is More" Approach
Beyond the technical stuff, it’s all about mindset. The point of retouching isn’t to create a completely different person. It's about presenting the best version of yourself—the one you see in your mind's eye. A great edit should make you feel more confident, not like you're hiding behind a digital mask.
My rule of thumb is simple: less is more. When you remove a double chin from a photo, the absolute best results are the ones no one can spot. They just see a great photo of you. That means knowing when to put the digital brush down.
The most powerful edits are subtle. They clean up distractions and guide the viewer's eye, but they never compromise the authenticity of the person in the photo. An image should feel polished, not perfected.
This philosophy helps you create a final image you can be genuinely proud to share. It's about achieving that clean, elevated look without losing what makes you, you. For more on this, our guide on how to make a photo look professional is packed with tips for taking your images to the next level.
Your Final Confidence Checklist
Before you export, do one last pass with this quick mental checklist. It only takes a minute.
- Background Check: Are all the lines in the background straight? No weird warping?
- Texture Test: Does the skin look real? No blurry or smudged patches?
- Before & After: Toggle between the original and the edit. Does it still look like you?
- The Squint Test: This is a classic artist's trick. Squint your eyes and look at the image. This blurs the details and helps you see if the overall light and shadow around the jaw and neck look balanced and natural.
At the end of the day, these tools are here to help you feel good about your photos. By focusing on subtle tweaks and running a careful final check, you can create images that not only look fantastic but also make you feel fantastic.